7 Top Tips to Achieve Great Wide-Angle Blue Shots
Text and images by Joel and Jennifer Penner, this article featured in SD Through The Lens (Issue 8/2015)
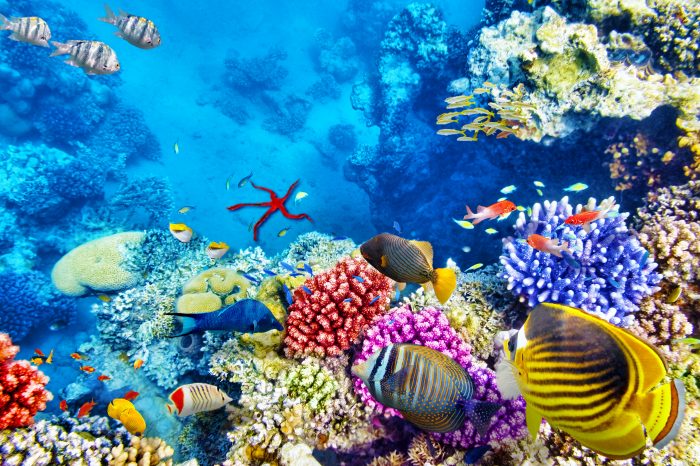
The oceans are vast and many different shades of blue depending on where you’re diving. By following the simple seven tips outlined in this article, you will be able to capture wide-angle scenes with pleasing blue water backgrounds.
Know your camera
As a novice underwater photographer, one of the first lessons is to know and understand your camera basics. What is ISO? What is aperture? What is shutter speed? How do they all relate to one another? What is depth of field? Let’s review in everyday terms.
ISO is the level of sensitivity of your camera to available light. The lower the ISO number, the less sensitive it is to light. Aperture is a measure of how much light your camera’s lens is capturing.
It is measured in terms of f-stops, and a lower number is an indication of more light coming in. Shutter speed is the length of time a camera shutter is open to expose light onto the camera’s sensor. A fast shutter speed can help freeze motion, while a slow shutter speed can create a motion blur effect. Finally, depth of field refers to the range of distance that appears acceptably sharp in your image.
Be in control: Change to manual mode
The next step is to change the shooting mode of your camera from auto to manual. This will give you the most creative control over your images, rather than an automatic mode where the camera decides for you.
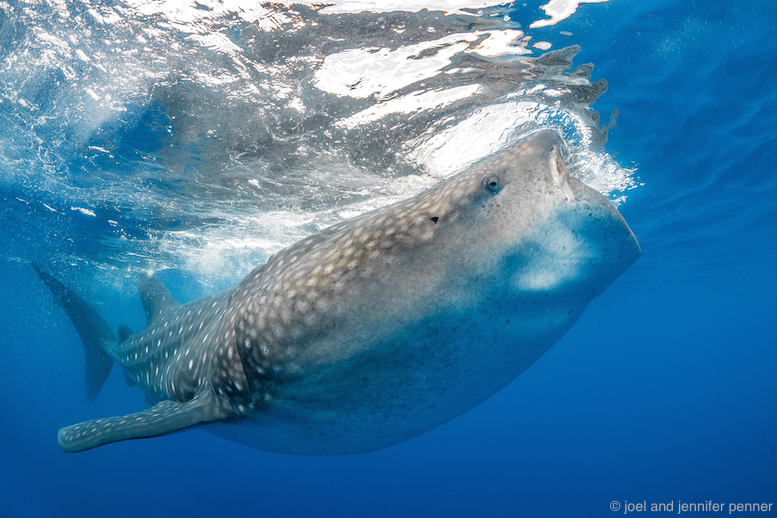
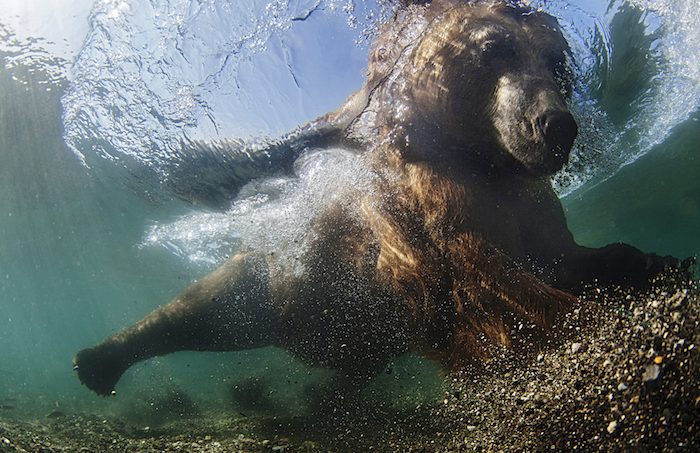
Snorkelling with whale sharks in the early morning required a departure from the recommended blue water jump settings. Equipment & settings: Canon EOS 5D Mark III, 15mm lens, Nauticam housing, available light, f/9, 1/250s, ISO 640
White balance
Today’s cameras have many white balance presets to get accurate colours in many different types of lighting. This really only applies to topside shooting. Set your camera to Auto White Balance (AWB); use this as your default white balance setting for most underwater shooting. If your camera supports the RAW format, we recommended shooting in this format versus JPEG because fine adjustments to your white balance can be accomplished non-destructively when editing in Adobe Photoshop or Lightroom.
Jump settings
A “jump setting”, as in “before you jump in the water”, is a starting point for your camera’s settings for a particular type of shooting. Before your dive, while you are fastidiously putting your camera into its underwater housing, set your camera to manual mode and the following: ISO 100 or 200 for sunny conditions, aperture f/8 and shutter speed 1/125s. While these may not be the exact settings you use throughout your dive, it gives you a jumping-off point that is in the ballpark for getting rich blue backgrounds.
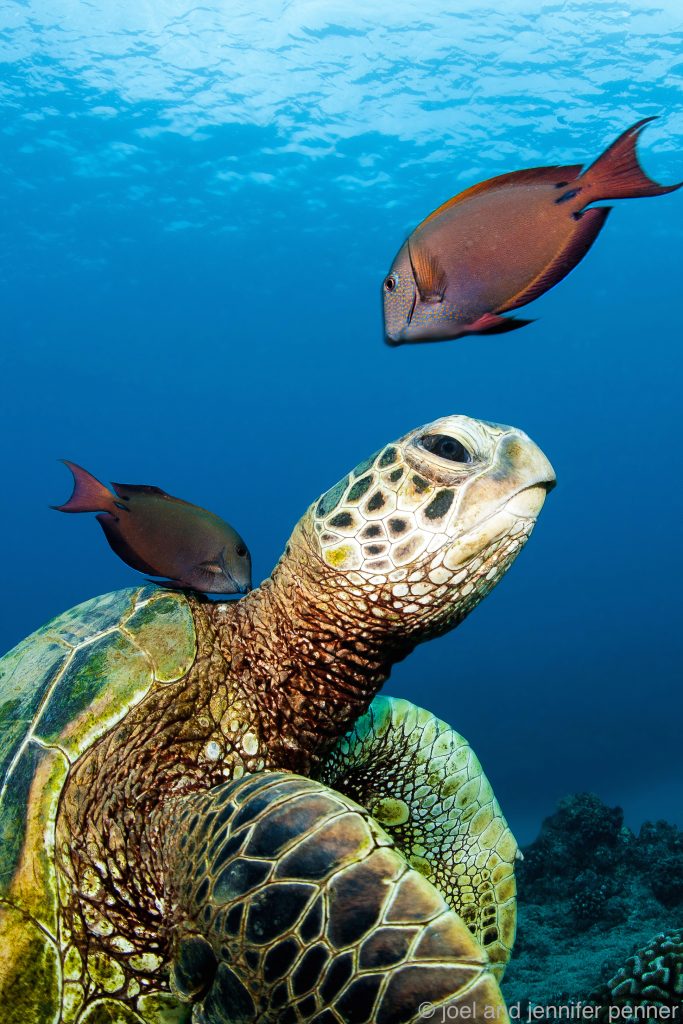
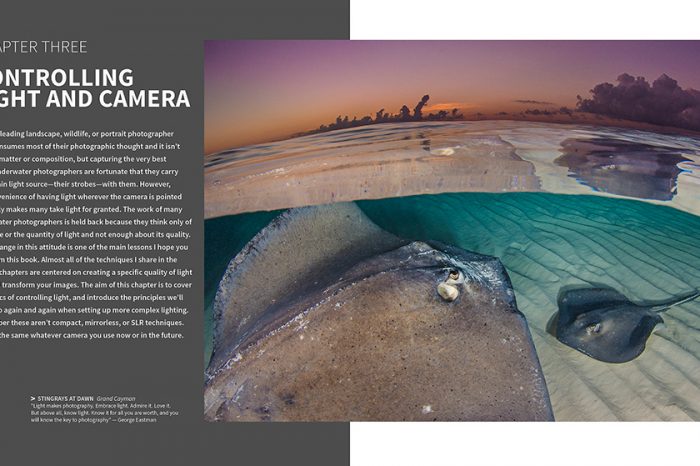
Finding a balance between the artificial strobe light and the ambient light from the sun is key to producing a pleasing image. Equipment & settings: Canon EOS 5D, 15mm fisheye lens, Subal housing, Inon Z-240 strobes, F.9, 1/125s, ISO 200
Adjust one knob
The saying, “There’s more than one way to skin a cat”, rings true in photography once you understand the relationships between your camera’s ISO, aperture and shutter speed. However, while scuba diving, freediving or snorkelling, we want easy. We don’t want to be turning a bunch of knobs and dials while we are in our beloved underwater environment.
In most blue water diving scenarios, and presuming your ISO is set correctly for your diving conditions, with the above jump settings on your camera, you will only have to adjust one knob on your housing to dial-in the blue water background you desire – the shutter speed knob. Making the shutter faster (1/160s, for example) will make your blue water darker, and making the shutter speed slower (1/100s, for example) will make your blue water lighter. The key to rich blue water backgrounds is to find the right shutter speed for your desired blue water colour.
If you don’t have aperture and shutter controls on your camera, you can use exposure compensation (the +/– button) to control the background. By using the exposure compensation feature on your compact camera, you can achieve a darker and richer water colour by adjusting your exposure compensation to the minus side.
Available light
While freediving or snorkelling, you don’t want to be encumbered with an imposing underwater camera rig with strobes. Most likely, you would be shooting with just available light. Use the jump settings mentioned above, but you may have to increase your ISO. Using the same technique, adjust your shutter speed to darken or lighten your blue water background. If it’s a sunny day, be sure that the sun is behind you when shooting – that natural light source will illuminate your underwater scene beautifully. Stay shallow for better marine life colours in your images. Once you are deeper than three metres (10 feet), you will quickly lose the red spectrum of light and your photos will be all blue.
Adding strobes
Artificial light will only illuminate your foreground, about one to one-and-a-half metres (3–4 feet) from your camera, not your background. The key is to mix your strobe light with the ambient light to make it appear balanced. Like our camera setup, we prefer to shoot with our strobes in manual mode for optimal control. With your rig set up, and the camera’s jump settings mentioned above intact, set your strobe output to three-quarter power. Adjust your shutter speed, as needed, for your background colour; adjust your strobe output, as needed, for your foreground.
You may also like