Developing the Correct Mindset for Underwater Photography (Part III)
Professional underwater photographer Rico Besserdich takes us through the importance of developing the correct mindset for underwater photography, in this final part of his three-part series.
Having prepared ourselves, and our photography equipment, well for our photo dive (part 1 of this series) and having finally done that dive (part 2), the last part of our mindset development is to think about what to do after the dive. The idea is to stay organised, prevent stress, and do things systematically. Each successful underwater photographer has his/her own “master plan” on how to stay organised, but there are many things they all have in common. Let’s have a look!
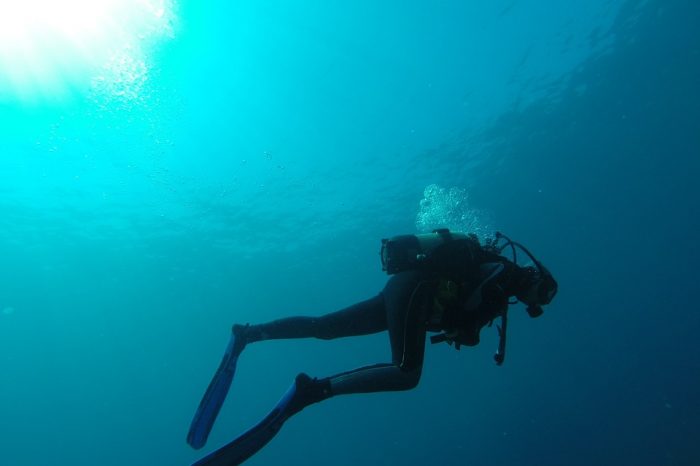
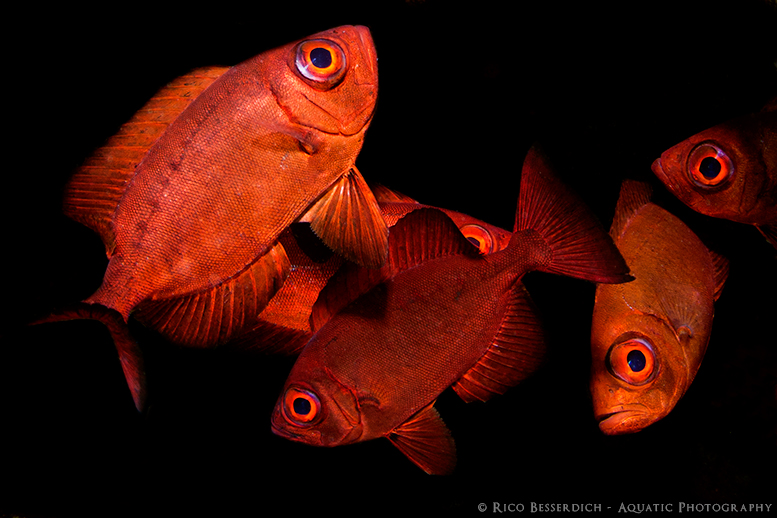
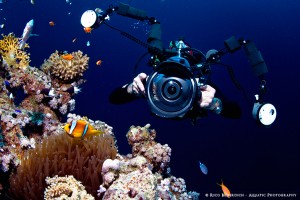
“Keen underwater photographers always think of their photo equipment first and of themselves second” © Rico Besserdich
Keen underwater photographers always think of their photo equipment first and of themselves second, after re-entering the dive boat, shore or wherever they planned to get dry again. The first step here is to take care of the camera in its housing. Larger dive boats and almost all shore-based dive centres have special rinse tanks filled with fresh water. Turn your camera and strobe off and place them in a freshwater tank, preferably in one that is provided for photo gear (meaning not the one where people rinse their regulators or other scuba gear).
If there is no such a tank, use the freshwater shower to rinse the salt water away. Salt water itself does not damage your underwater housing and strobe, as long as it stays wet, but once it dries, things could become tricky.
If there is no fresh water available, it is now time to remember the towel. What towel? Well, the towel that you have in your camera bag or box that was packed! Wet the towel and cover your camera (leaving it in its housing, of course) with it and store everything in a shady, safe place. This will prevent the salt from crystallising, as long as the towel stays wet. You can rinse your underwater photo gear later on, when you are back at home or in your hotel room.
Never open the camera housing before you’ve cleaned and dried it properly.
In-between two dives (e.g., during your lunch break), the best place to store an underwater camera is always the freshwater rinse tank. Just leave it in there if possible. Push each button of the housing a couple of times while the housing is in the tank.
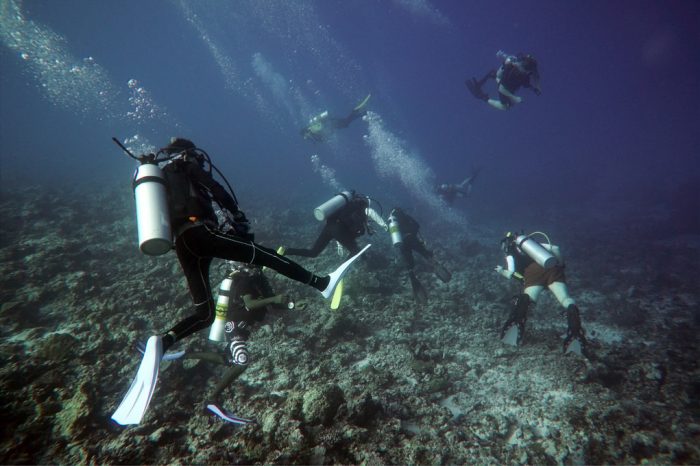
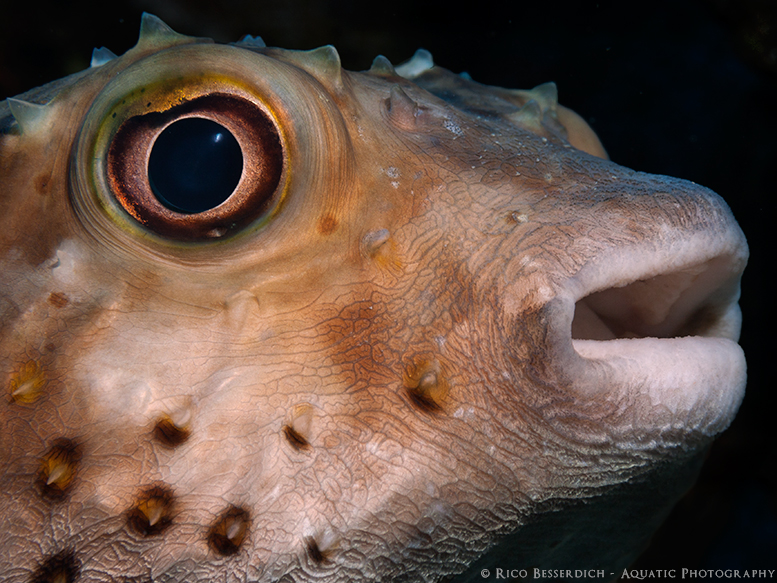
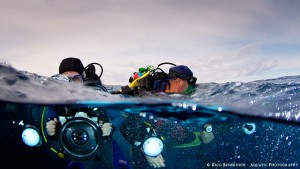
“Keen photographers usually can’t wait to review their recent shots directly after the dive, often while still wearing their neoprene suit and half of their scuba gear” © Rico Besserdich
Keen photographers usually can’t wait to review their recent shots directly after the dive, often while still wearing their neoprene suit and half of their scuba gear. That’s fine, but please bear one thing in mind: Don’t judge the photos by what you see in your camera’s LCD display. No matter if you shoot RAW, JPG or DNG, the camera’s LCD displays only a JPG preview at a very low resolution. Only by reviewing your photos on a computer with a larger screen and by zooming in to 100-percent picture size can you find out which are good and which aren’t.
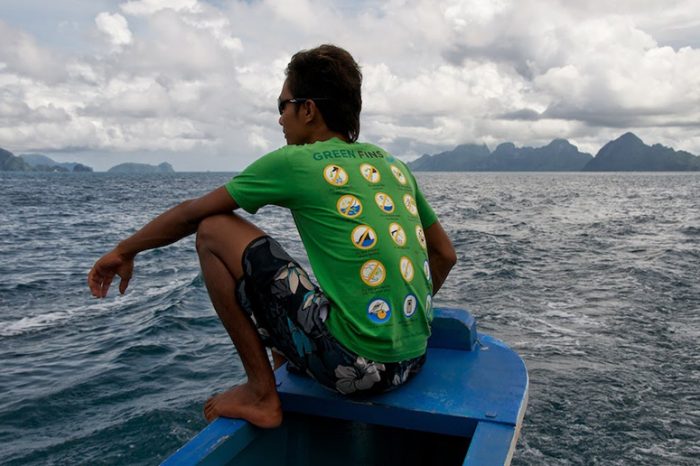
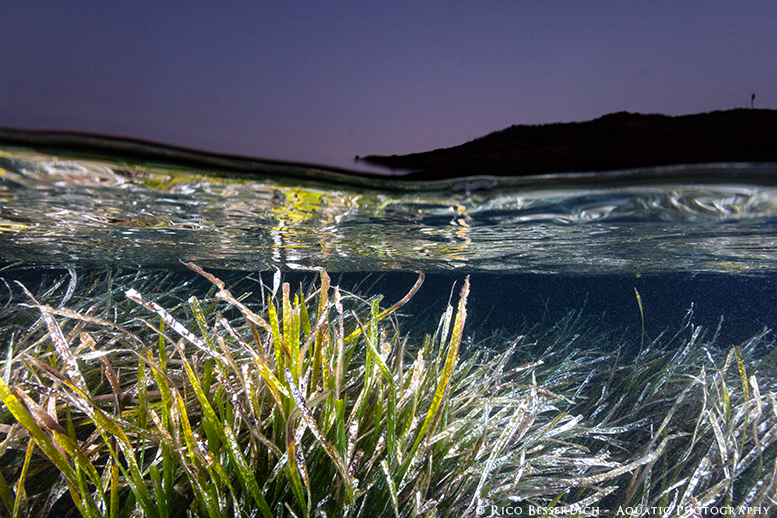
“The idea is to stay organised, prevent stress, and do things systematically” © Rico Besserdich
Unless a photo is not totally black or blurry, don’t delete images directly from your camera while reviewing them on the camera’s LCD screen. Sometimes, photos that don’t look so promising on the LCD actually have that “little extra” something (when seen on a larger screen), and photos that look awesome on the first view on the LCD don’t always appear as nice as when reviewed on a large screen.
Please keep in mind as well that the LCD screen consumes a lot of battery power, so if you’d like to review your photos between two dives, make sure that you have a spare battery with you, especially when you are using compact or mirrorless cameras.
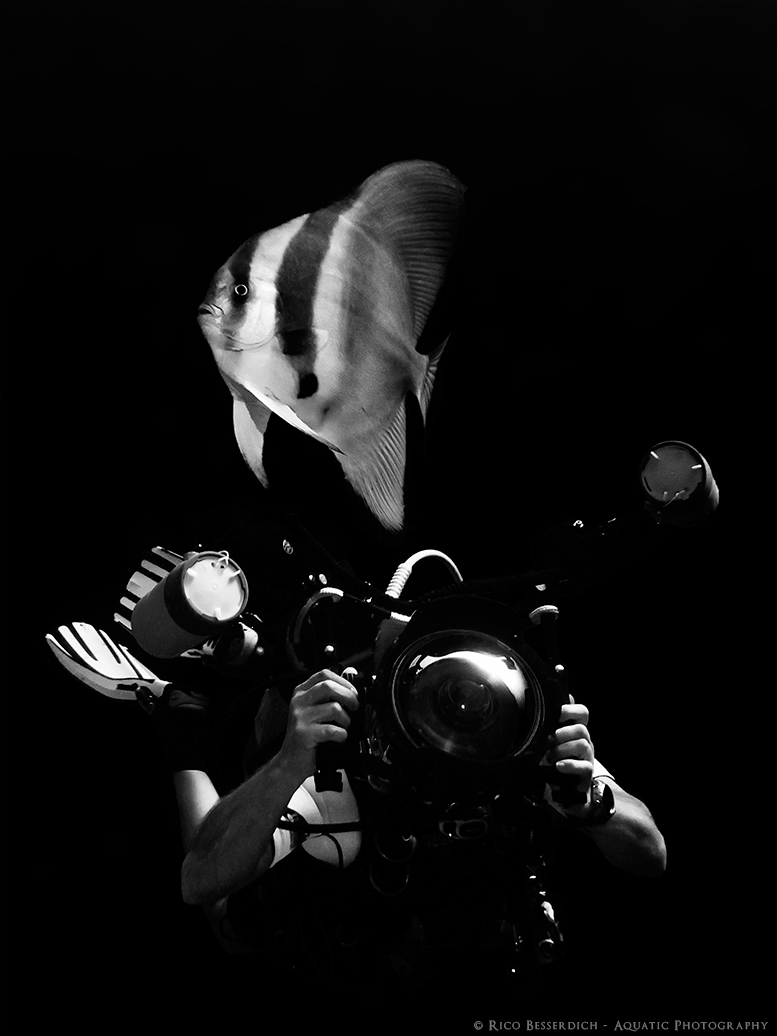
“Unless a photo is not totally black or blurry, don’t delete images directly from your camera while reviewing them on the camera’s LCD screen” © Rico Besserdich
Once back home, you should transfer the images from the camera to a computer, regardless of whether the memory card still has space for more photos. Just stay organised and transfer your images after each day of diving. Empty the memory card to prepare it for the next day of diving. You may now charge the batteries (camera and strobes) as well.
Create folders sorted by date, location, or a specific photographic project you are working on and store your images in there. Once again, stay organised.
Tip: Do not start transferring images from the camera to the computer if the camera battery is already low. Replace the battery before the transfer or use a common card-reader instead.
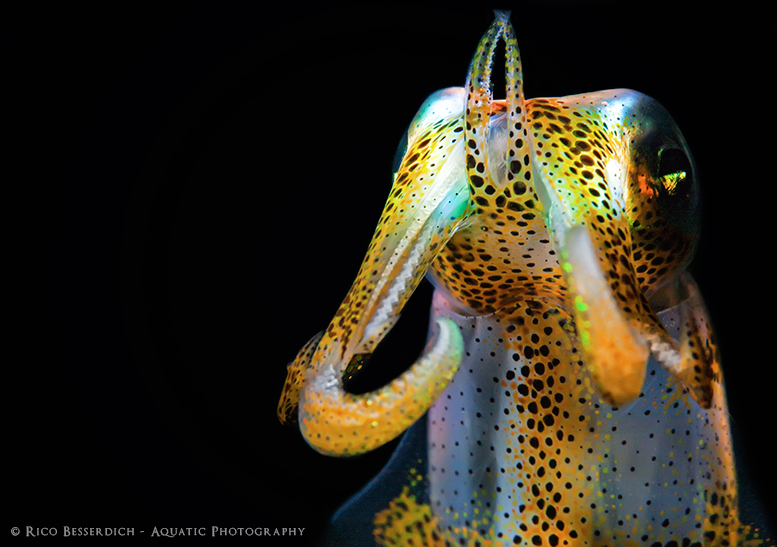
“Sometimes, photos that don’t look so promising on the LCD have that ‘little extra’ something (when seen on a larger screen)” © Rico Besserdich
Now you can start reviewing your photos of the day on your computer. For the first round of selection, I recommend deleting only the really bad or unsuccessful images (totally out of focus, totally black, etc). Stay calm if your RAW photos don’t look like they did while reviewing them on your camera LCD. Remember that LCD can’t show you RAW images; it can show you only low-resolution JPGs that are often altered by the camera’s own image processor.
If you are out for a couple of days for diving and photography, don’t spend endless hours on post-production during your trip. These things are better left to do at home. However, during a dive trip you can review your photos for a primary selection, and for further developing on your idea. Your photo review can show you what to improve on or do differently during your next dive. And don’t forget your towel.
Take a look back at the series
Developing the Correct Mindset for Underwater Photography (Part I)
Developing the Correct Mindset for Underwater Photography (Part II)
You may also like