
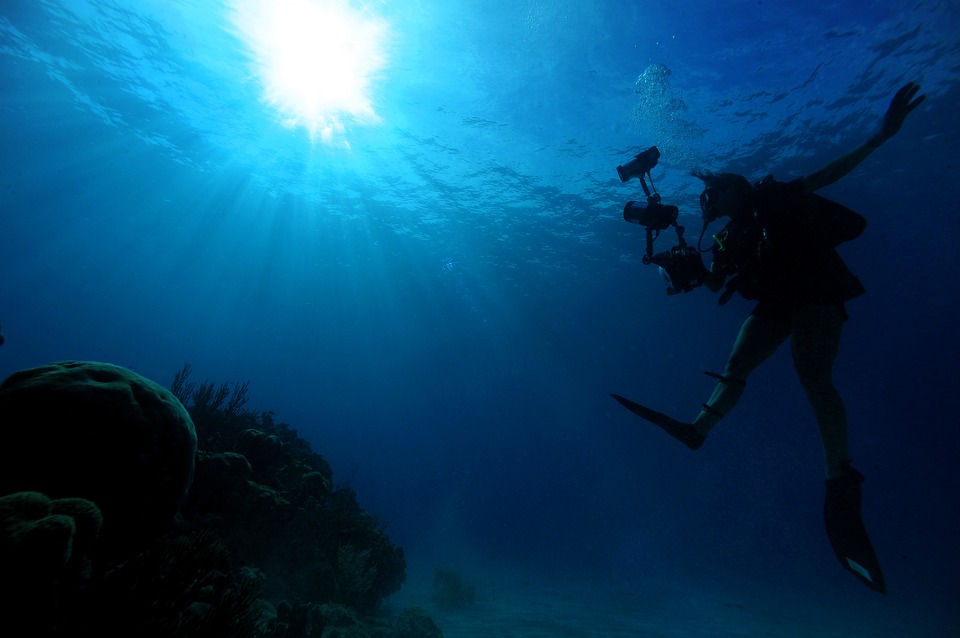
Matt Weiss, Publisher and Editor-in-Chief of DivePhotoGuide.com, takes us through how to shoot stunning underwater videos:
There has never been a better time to be an underwater videographer because the barriers for entry, in both creating and distributing films, have never been lower. The line between a stills and a video camera has become increasingly blurry because most cameras are capable of shooting high-definition (HD) video. So, the chances are, if you have any kind of camera, you can use it to shoot video. However, just because it’s easier to get started, that doesn’t mean it’s any easier to make a great video. Here is a little help with the basics for you to get started on making your first underwater film.
Understanding video resolution and frame rate
If you’re just getting started in video, it’s not necessary to get too caught up in the technical jargon. However, there are a few key settings to understand. The two most basic settings choices are deciding the size of each frame, known as resolution, and how many frames you will capture every second.
Resolution is essentially a measure of how many pixels an image contains and is usually expressed as image length times height. Nowadays, almost all cameras, including mobile phones, action cams, and compact cameras, shoot HD video, which refers to resolutions of either 1280×720 or 1920×1080. These standard image resolutions are often referred to by just their height as 720 or 1080.
Frame rate refers to how many frames your camera will capture in a second and is therefore usually measured in frames per second (fps). Typically, your options will be 24, 30 or 60fps. Higher frame rates are used when you want to slow down footage in post-production for slow motion. Setting your camera at 1080 resolution with a frame rate of 30fps (or 24fps) is a good place to start. You might encounter that setting in a shorthand version, expressed as 1080p30.
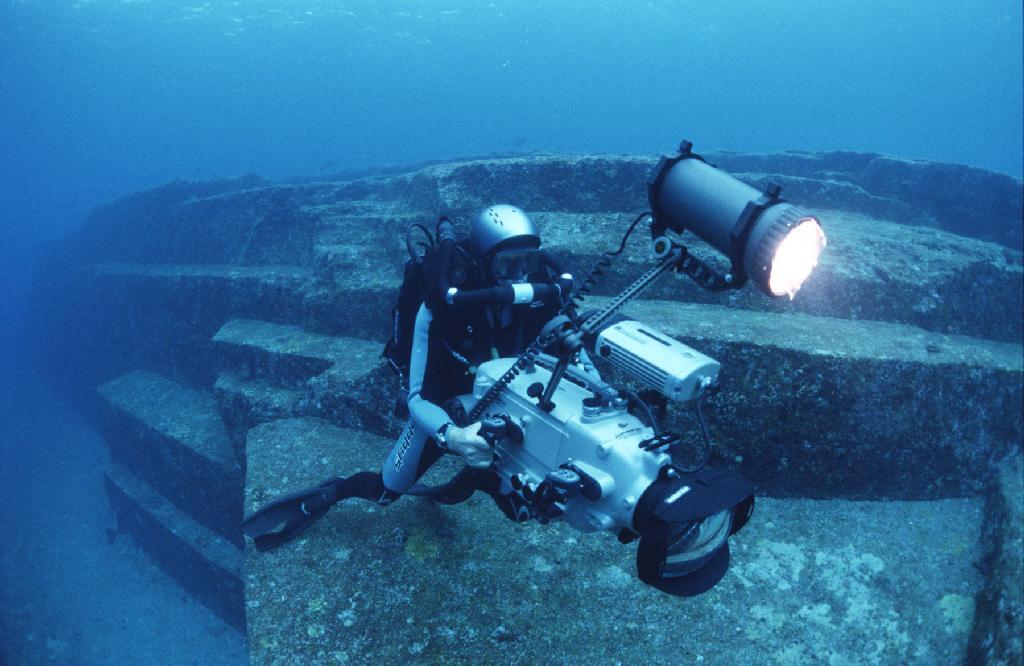
Extra equipment
If you have a camera, there’s not too much additional gear you need to get started, but a few extra accessories will go a long way.
- Batteries: Unlike for stills, when you’re shooting video, your camera is always engaged, and if you’re using a compact camera or a DSLR, you’re using your LCD screen all the time, which will drain your battery more quickly. If you’re doing a few dives a day, it makes sense to have one or two backups so you can have a fully charged battery after every dive.
- Memory card: Card capacity is another aspect to consider when shooting video, because the demands on your memory card are SDTTL 92 different. While an 8GB card can hold about 2,000 JPEGs from a 12-megapixel camera, it’s only going to have room for just over an hour of 1080p30 video. A 32GB card, on the other hand, can hold about 4.5 hours of HD video, which should last you an entire day’s worth of diving.
- Stabilisation: If you’re using a compact camera or an action cam like a GoPro, you’ll also want to add a tray to your setup to help stabilise your footage. A tray with one or two handles adds weight to reduce shake, and gives your hand a better surface to grasp onto and stay still.
Get your colour back
One of the biggest challenges for any underwater image-maker is gaining back the colour lost due to light being absorbed by the water column. If you don’t compensate for this, then your imagery will look blue and boring. The most common and effective way to solve this problem is through artificial lighting, but this is also very expensive. There are two cheaper ways for videographers to add colour back into their footage: white balancing and filters.
- White balancing: This is one of the most crucial aspects of taking successful video. Manually white balancing allows you to tell the camera what colour is white, so it can compensate for the colours lost at depth. Bringing a white slate down with you will be helpful. When white balancing, you should ideally have the sun coming from behind you to maximise the amount of sunlight shining on your slate. Every time you change depth, or the light changes, the white point will change, so it’s important to white balance often.
- Filters: Filters are another good way of adding colour back into your images. There are filters specifically made for underwater imagery that sit outside the lens, bringing back the warm colours of the reef and making the blue water pop. The Flip 3.1 Filters from Backscatter Underwater Video & Photo are built specifically for the GoPro, since it doesn’t allow you to fully customise your white balance settings. There are different filters for different depths, which easily flip over the lens depending on which is needed.
Getting the right shot
Compelling footage isn’t just about turning the camera on and letting it roll. Simply following around your subject with the camera will get boring. Here are some pointers for getting engaging shots:
- Let the subject exit the frame: Seeing a beautiful subject and then letting it swim out the frame takes a certain degree of courage. Sure, you risk the chance of missing some amazing behaviour, but by allowing the subject to leave the frame, you have a natural place to cut to the next clip.
- Watch your composition: Just as with stills, the rule of thirds applies to video. Rather than placing your subject in the dead centre, situate it on either the left or right third of the frame.
- Keep clips short: Unless there is some exciting behaviour unravelling, a clip should not last longer than about five seconds, and often shorter.
The key factor
Perhaps the most important part of any video, however, is that you tell a story. There should be a beginning, middle and an end. That’s what will separate your film from just a bunch of nice moving images. A good story involves no technical skills or equipment at all; just a great idea.
This article featured in Scuba Diver Through The Lens (Issue 2/2015)


