
Underwater photographer and small animal expert Mike Bartick offloads tips and techniques to create great compositions that work
When was the last time that you complimented a chef on the pans he used to create your meal… Never? Of course not. Then why would anyone assume that your camera must be top-notch because your images are so punchy!
As crazy as this comparison might seem, you would be surprised at how many times I hear it. The truth is that while quality gear is important, it’s the mastery of your gear that really counts. Capturing the best possible image is always the goal, but turning a good shot into a great photo can be as easy as applying some simple compositional ideas.
The basics
All compositions are subjective. Understanding different types of compositions is the first step to developing your own style.
Most people learn through doing or through visual illustration: Looking in magazines, checking artwork and paying close attention to your own eye’s pathway when viewing an image will also help with learning composition. Teaching yourself what is strong and what isn’t in a composition is a simple exercise that is rarely taught but subconsciously always used.
A great composition keeps the viewer’s eye on the photo and leads it through the image; if the eye slips off the frame then it’s a quick lesson in poor composition. On the other hand, if it loops back and stays on-frame, then you know you have a strong composition. Look at any photo, close your eyes, then after a few seconds open them. Analyse what is happening. This simple exercise will quickly teach your brain what is hot and what is not and lead to a better understanding of strong compositions.
It’s important to scrutinise your images or even ask someone that isn’t related to you to select the best of three images presented. This will also help you to disconnect from your own work and is crucial in developing a commercial eye.
Flow, balance, depth, and design will soon make sense as we begin with these four basic – yet effective – ideas:
- Rule of thirds
- Framing
- Negative Space
- Filling the frame
Rule of thirds
The “rule of thirds” is perhaps the most used and trusted method for creating universally eye-pleasing images. It’s first taught in any class and relied on by sculptors, painters and photographers alike. The simplest way to start using this method right now is to use images that have already been captured and process them using the “grid line overlays” in Lightroom or Photoshop. This is normally activated when the crop tool is selected in either editing platform.
Think of the rule of thirds as a tic-tac-toe outline or a hashtag, setting up the framework to position your image.
The intersecting waypoints are your anchors and your subject flowing through these intersecting lines will help you to build the image.
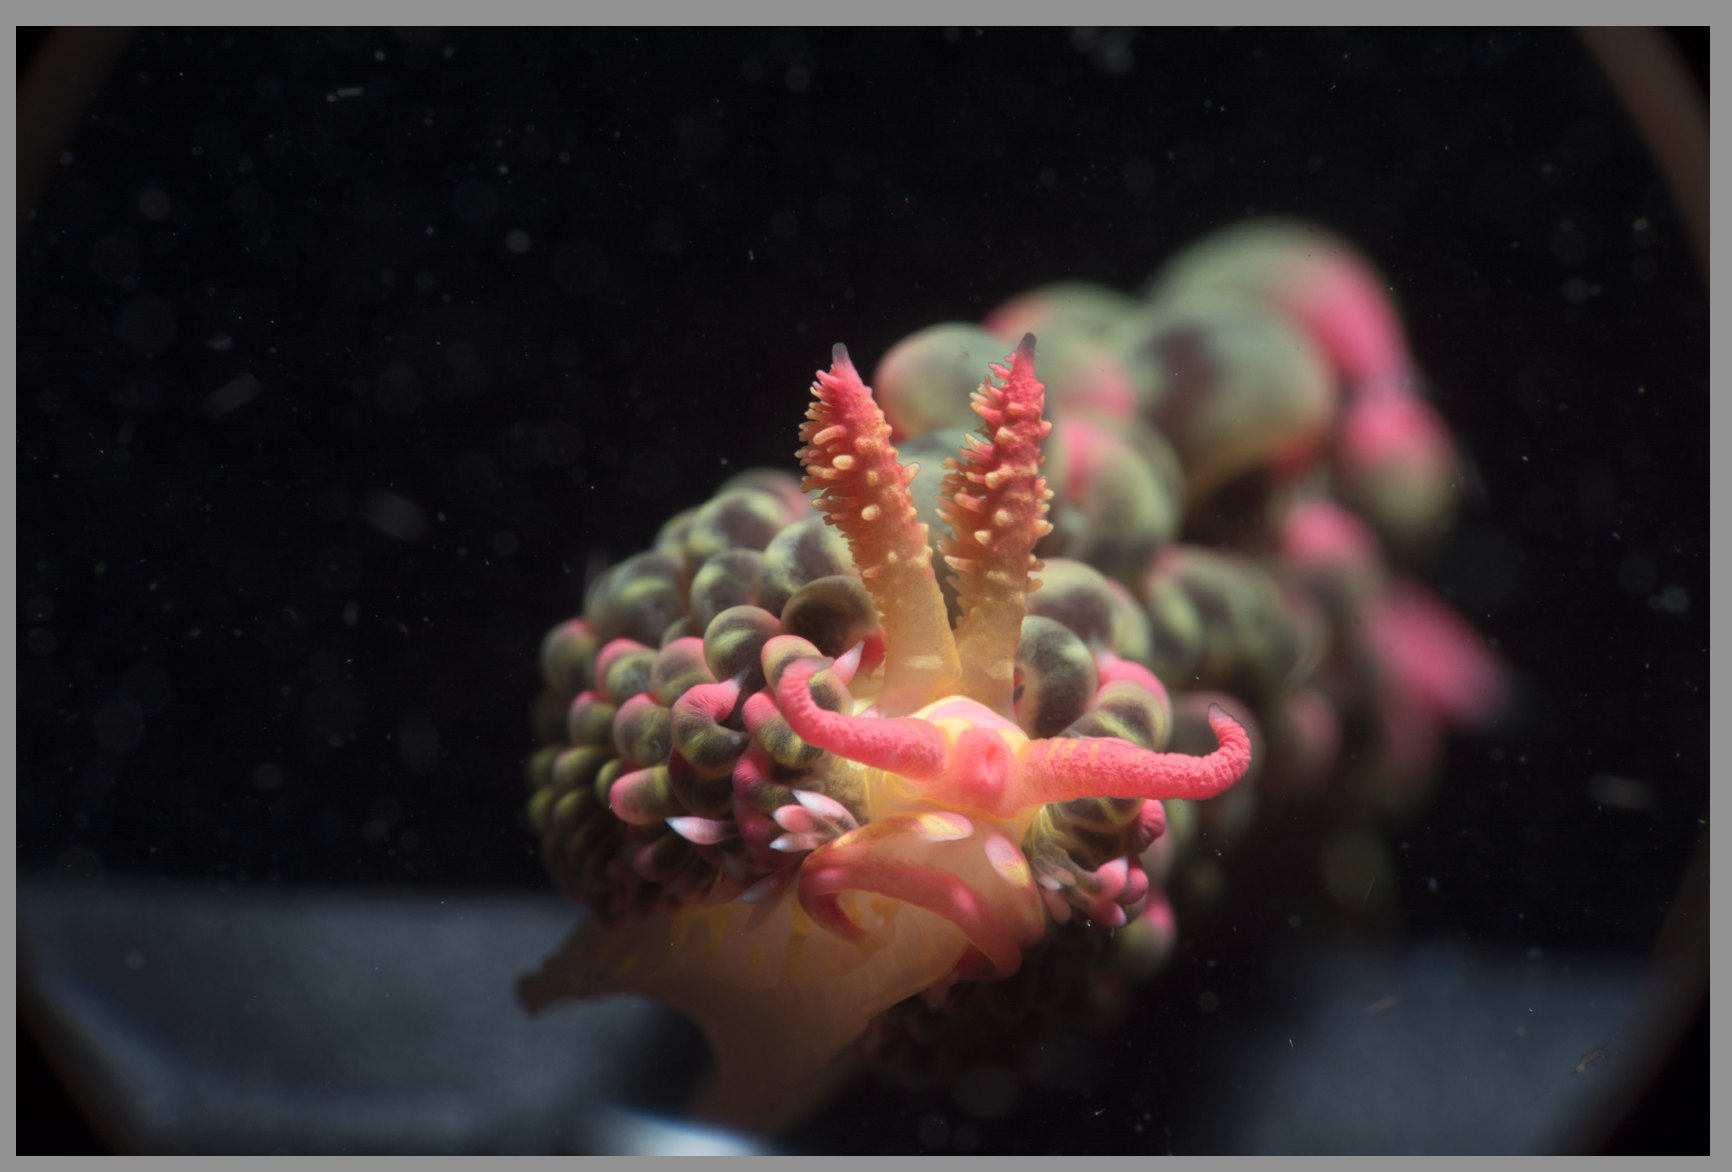
This is the image as shot from the camera. For me the image feels off balance and has a weak presence in the frame. My eye needs a little assistance on direction but still follows a good line from corner to corner. This is a workable photo if I can save it…
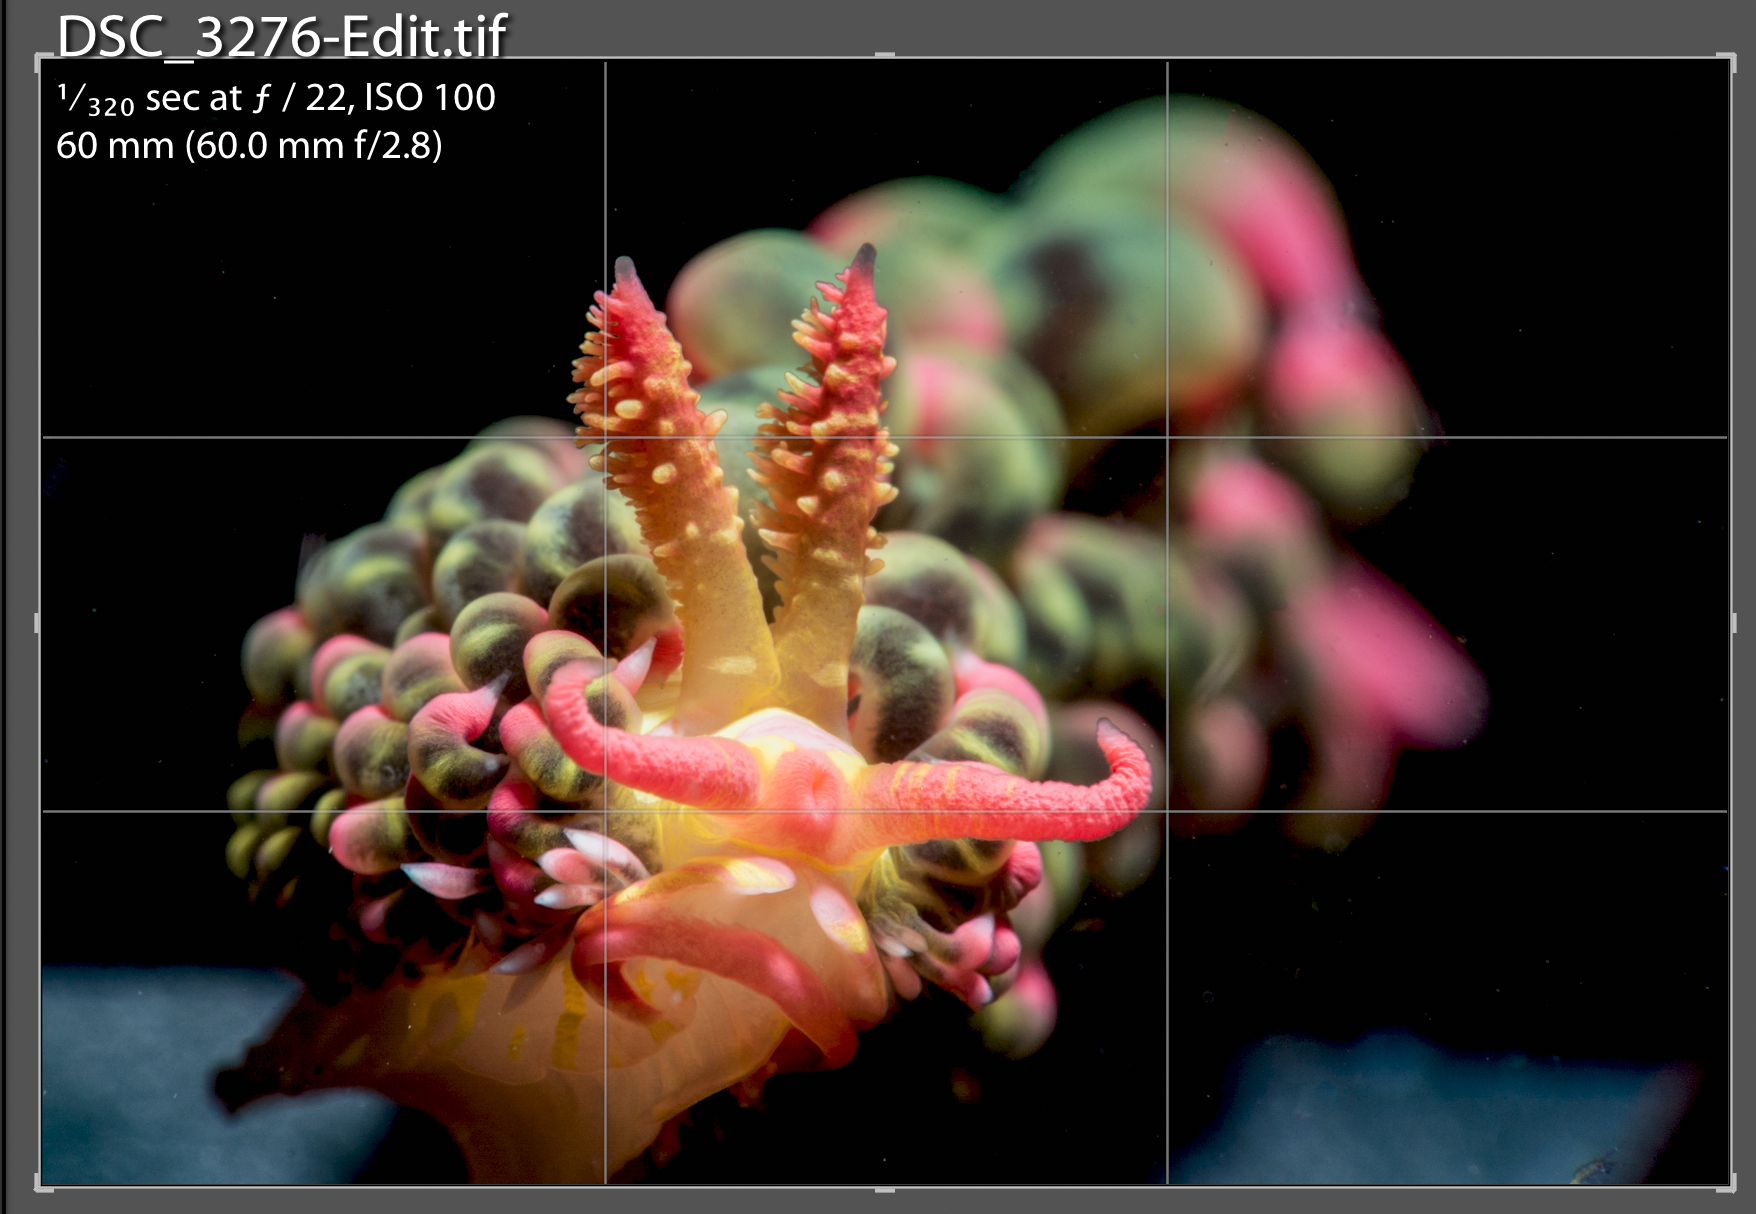
This image has been processed by cropping for composition using the rule of thirds as my guide. When cropping, be sure to use the proper aspect ratio to keep it true to the shape of the sensor. Pulling the image through the waypoints (points of interest of the rule of thirds), setting up a stronger corner to corner line and directing my eye to follow the subject from front to back and looping in again. My eye does not leave the page. This image has been saved.
Learning this in Adobe Lightroom or Photoshop will help you shoot it this way the next time the chance avails itself.
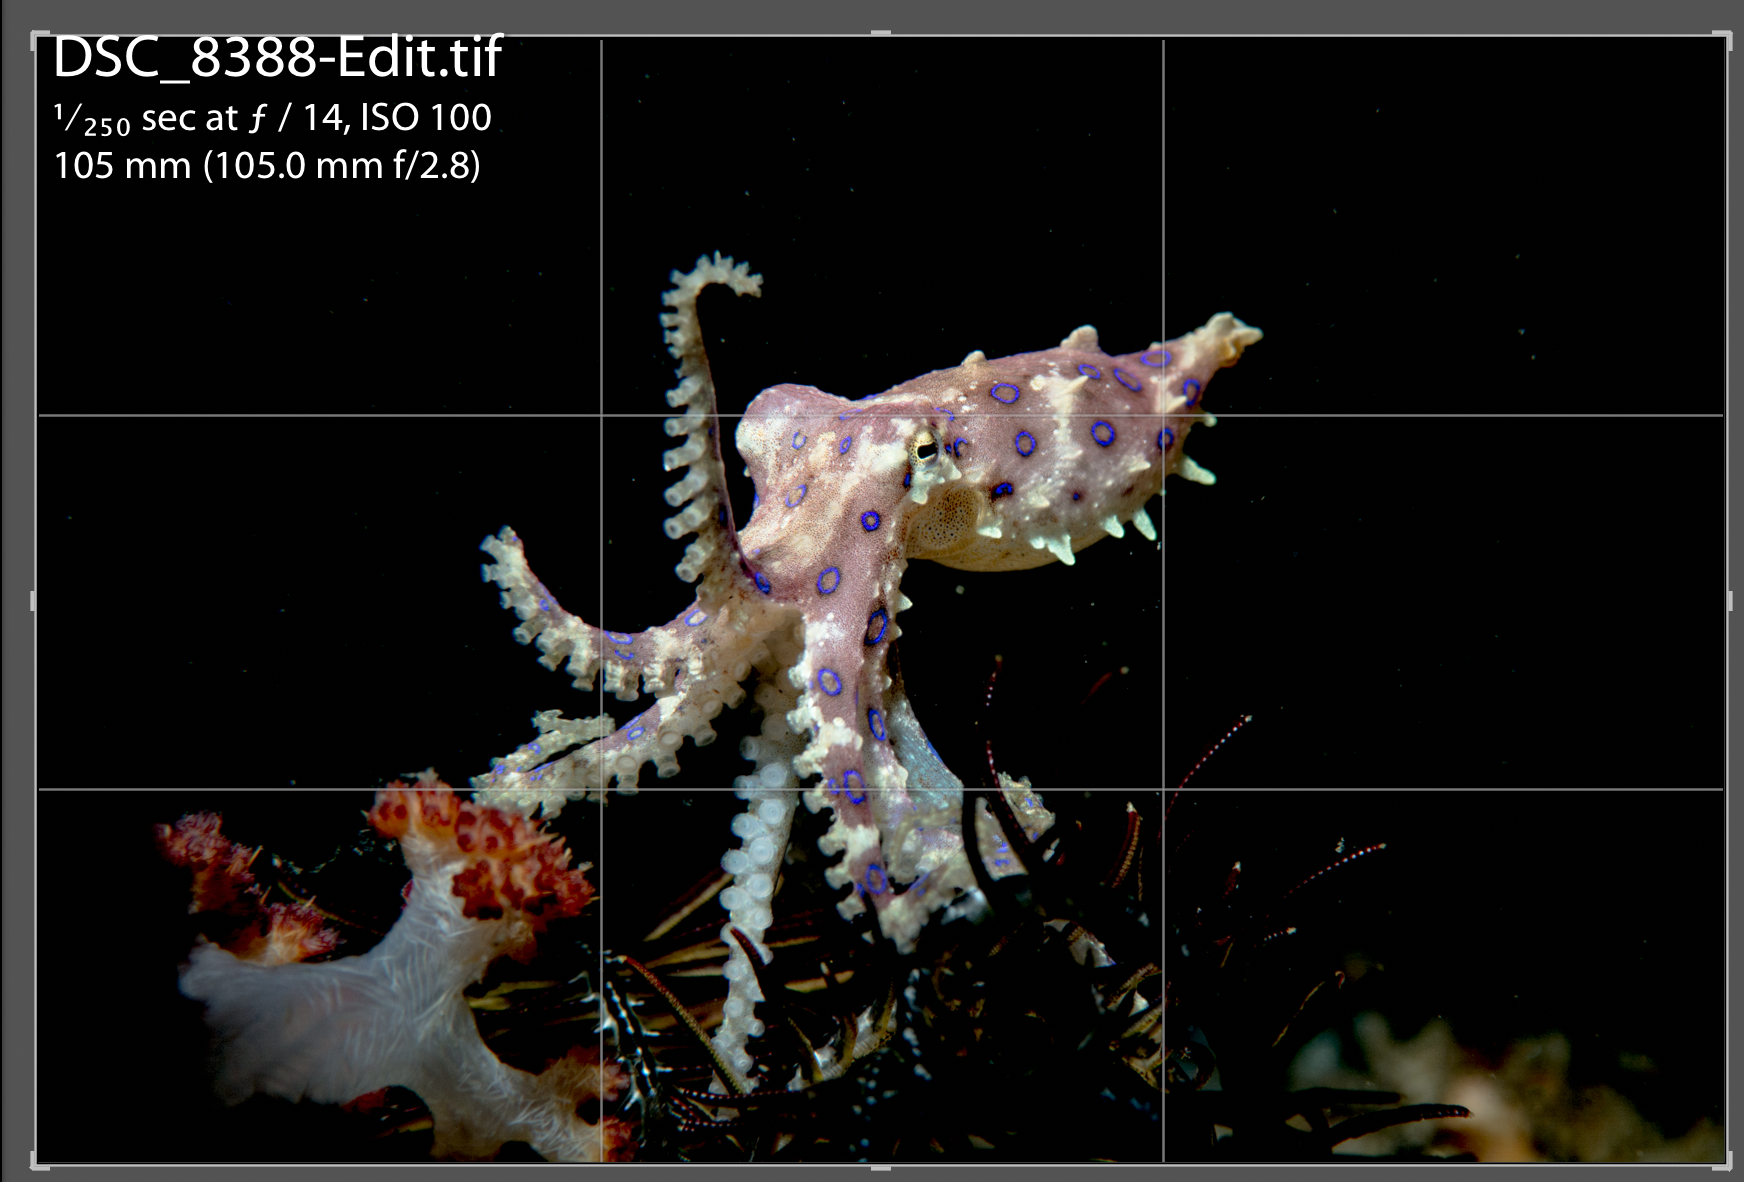
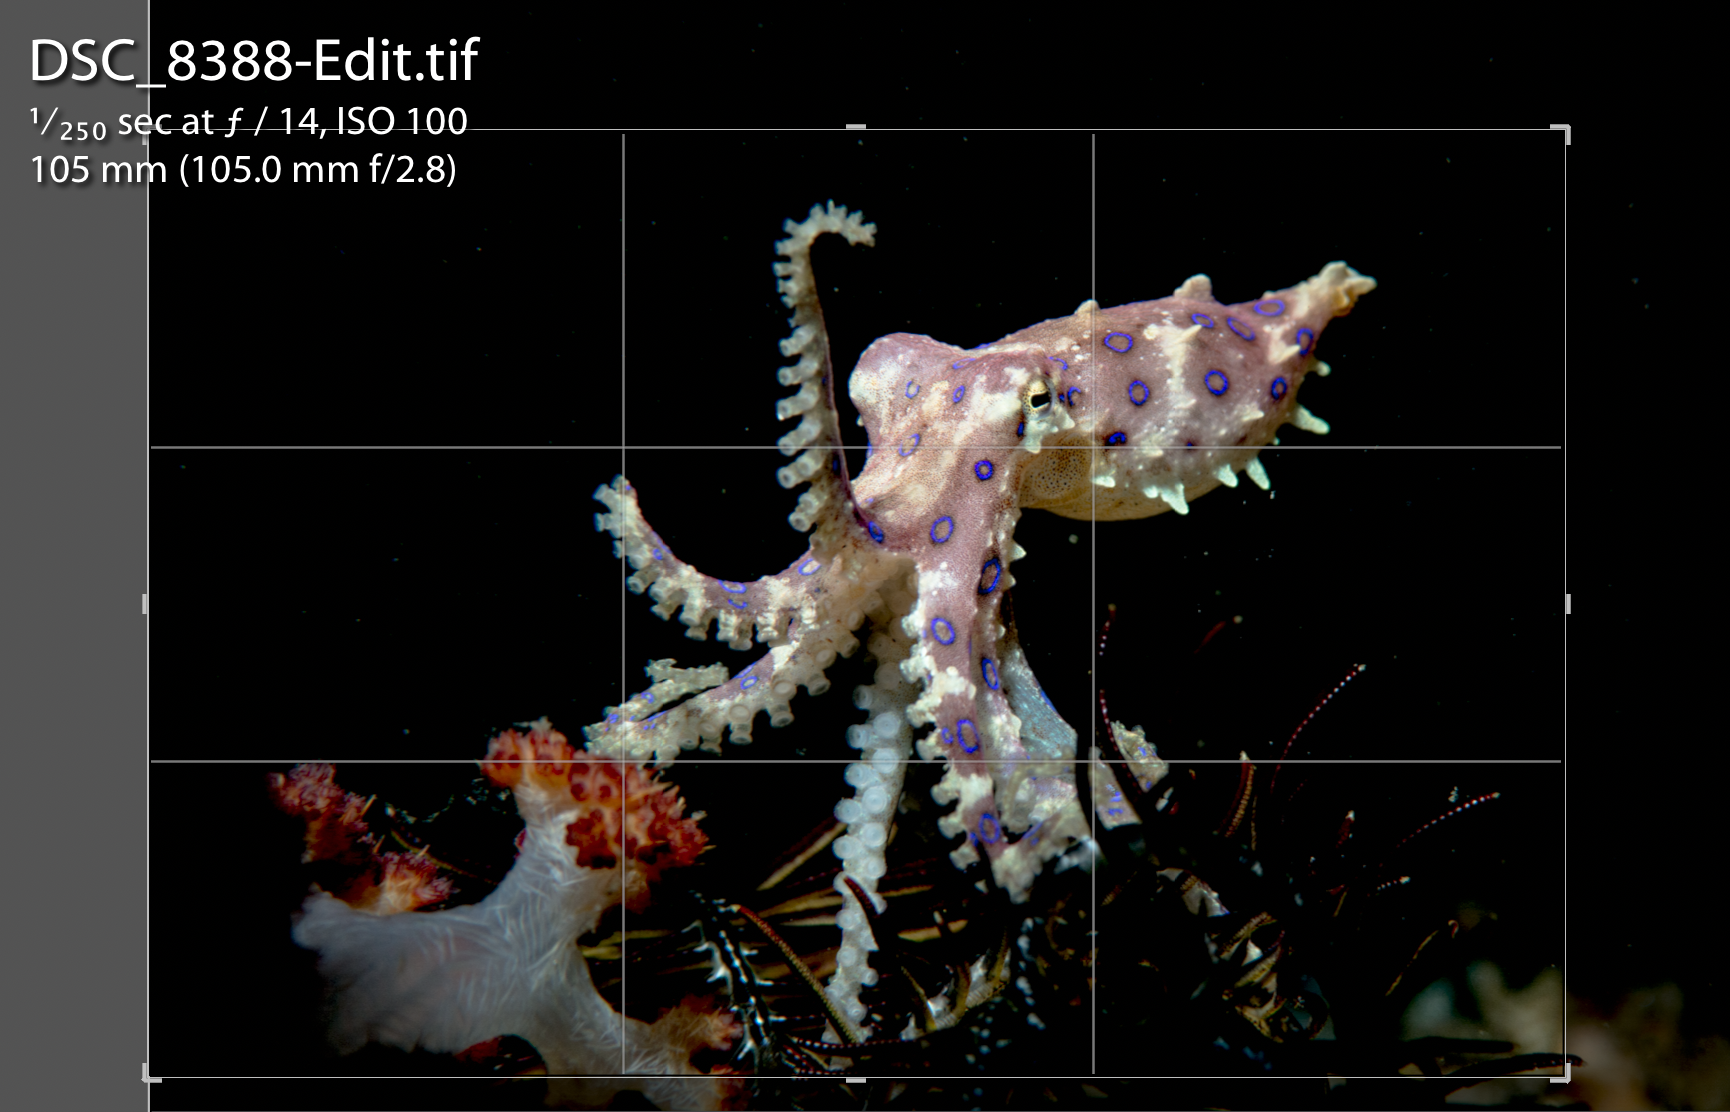
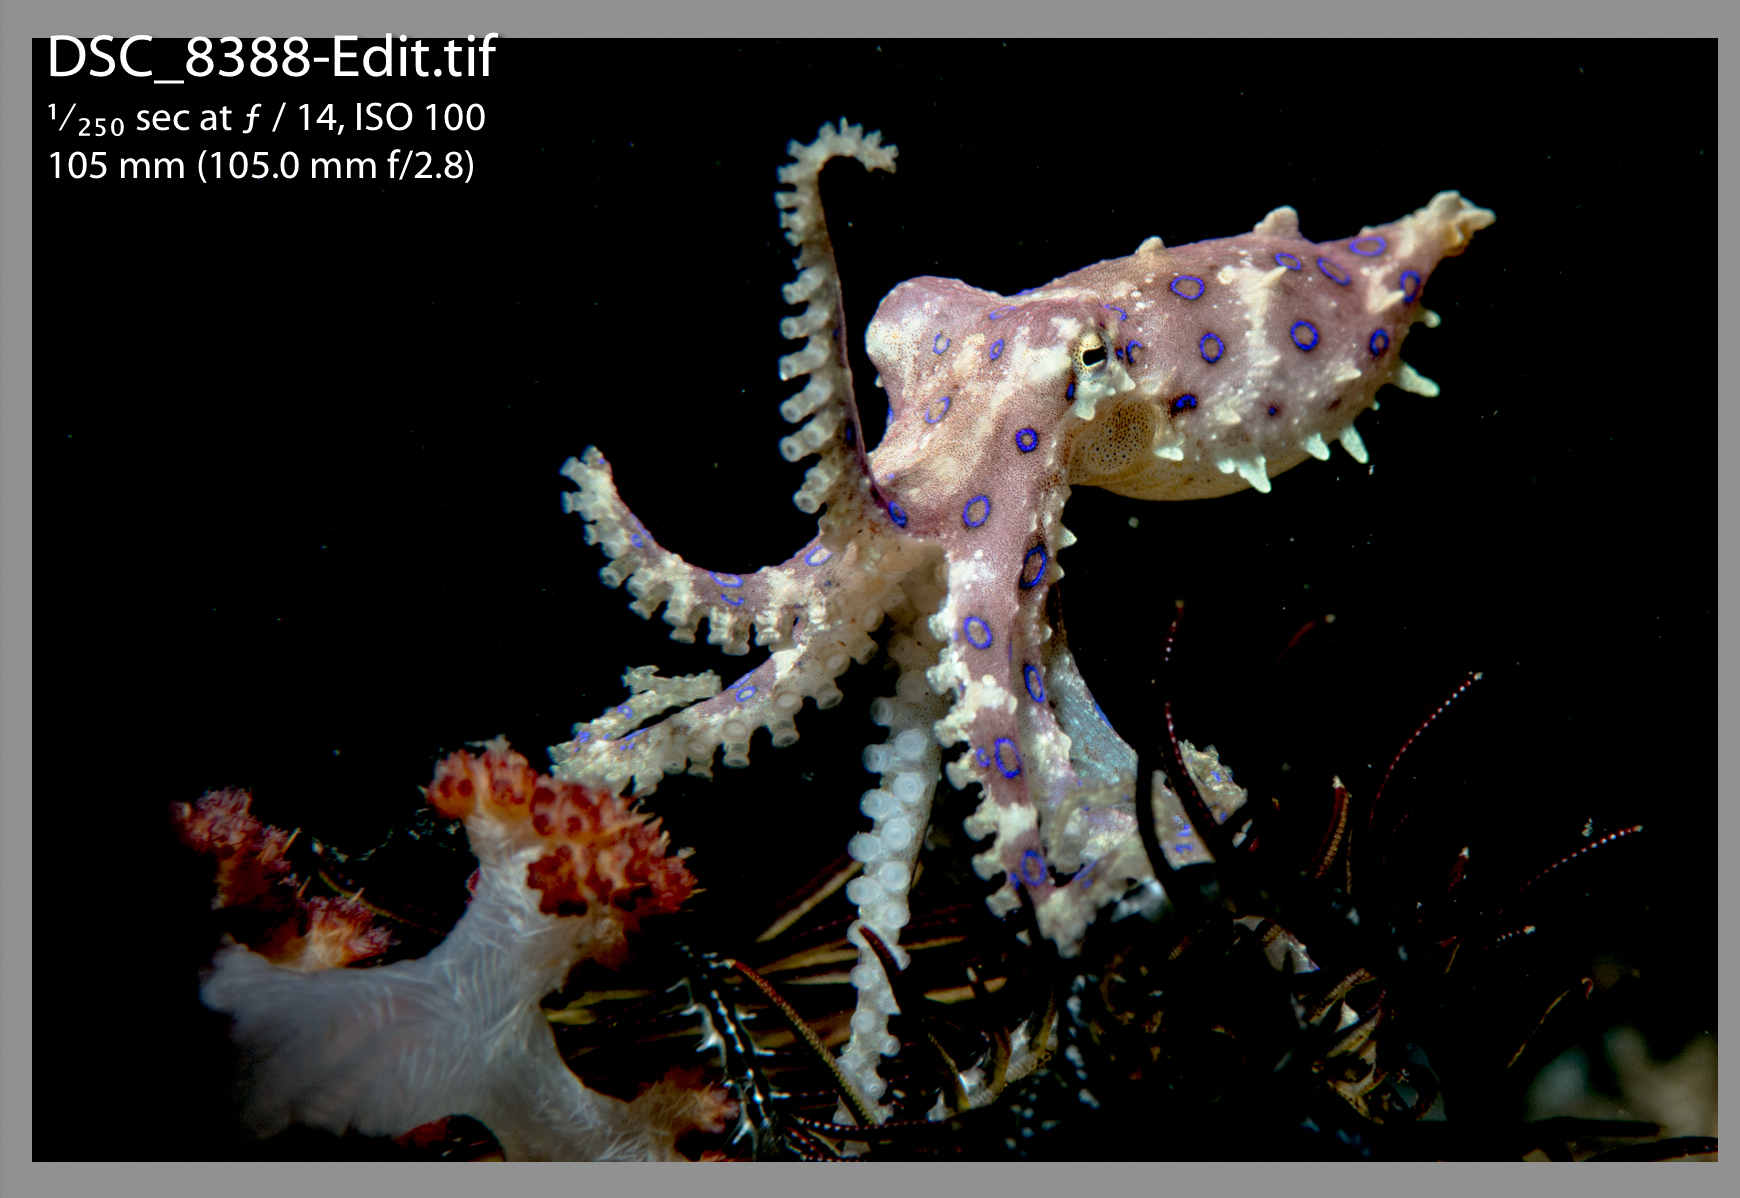
The blue-ringed octopus below is set up the same way. Have a look at both examples. Although the change is subtle, it still makes an impact.
Framing
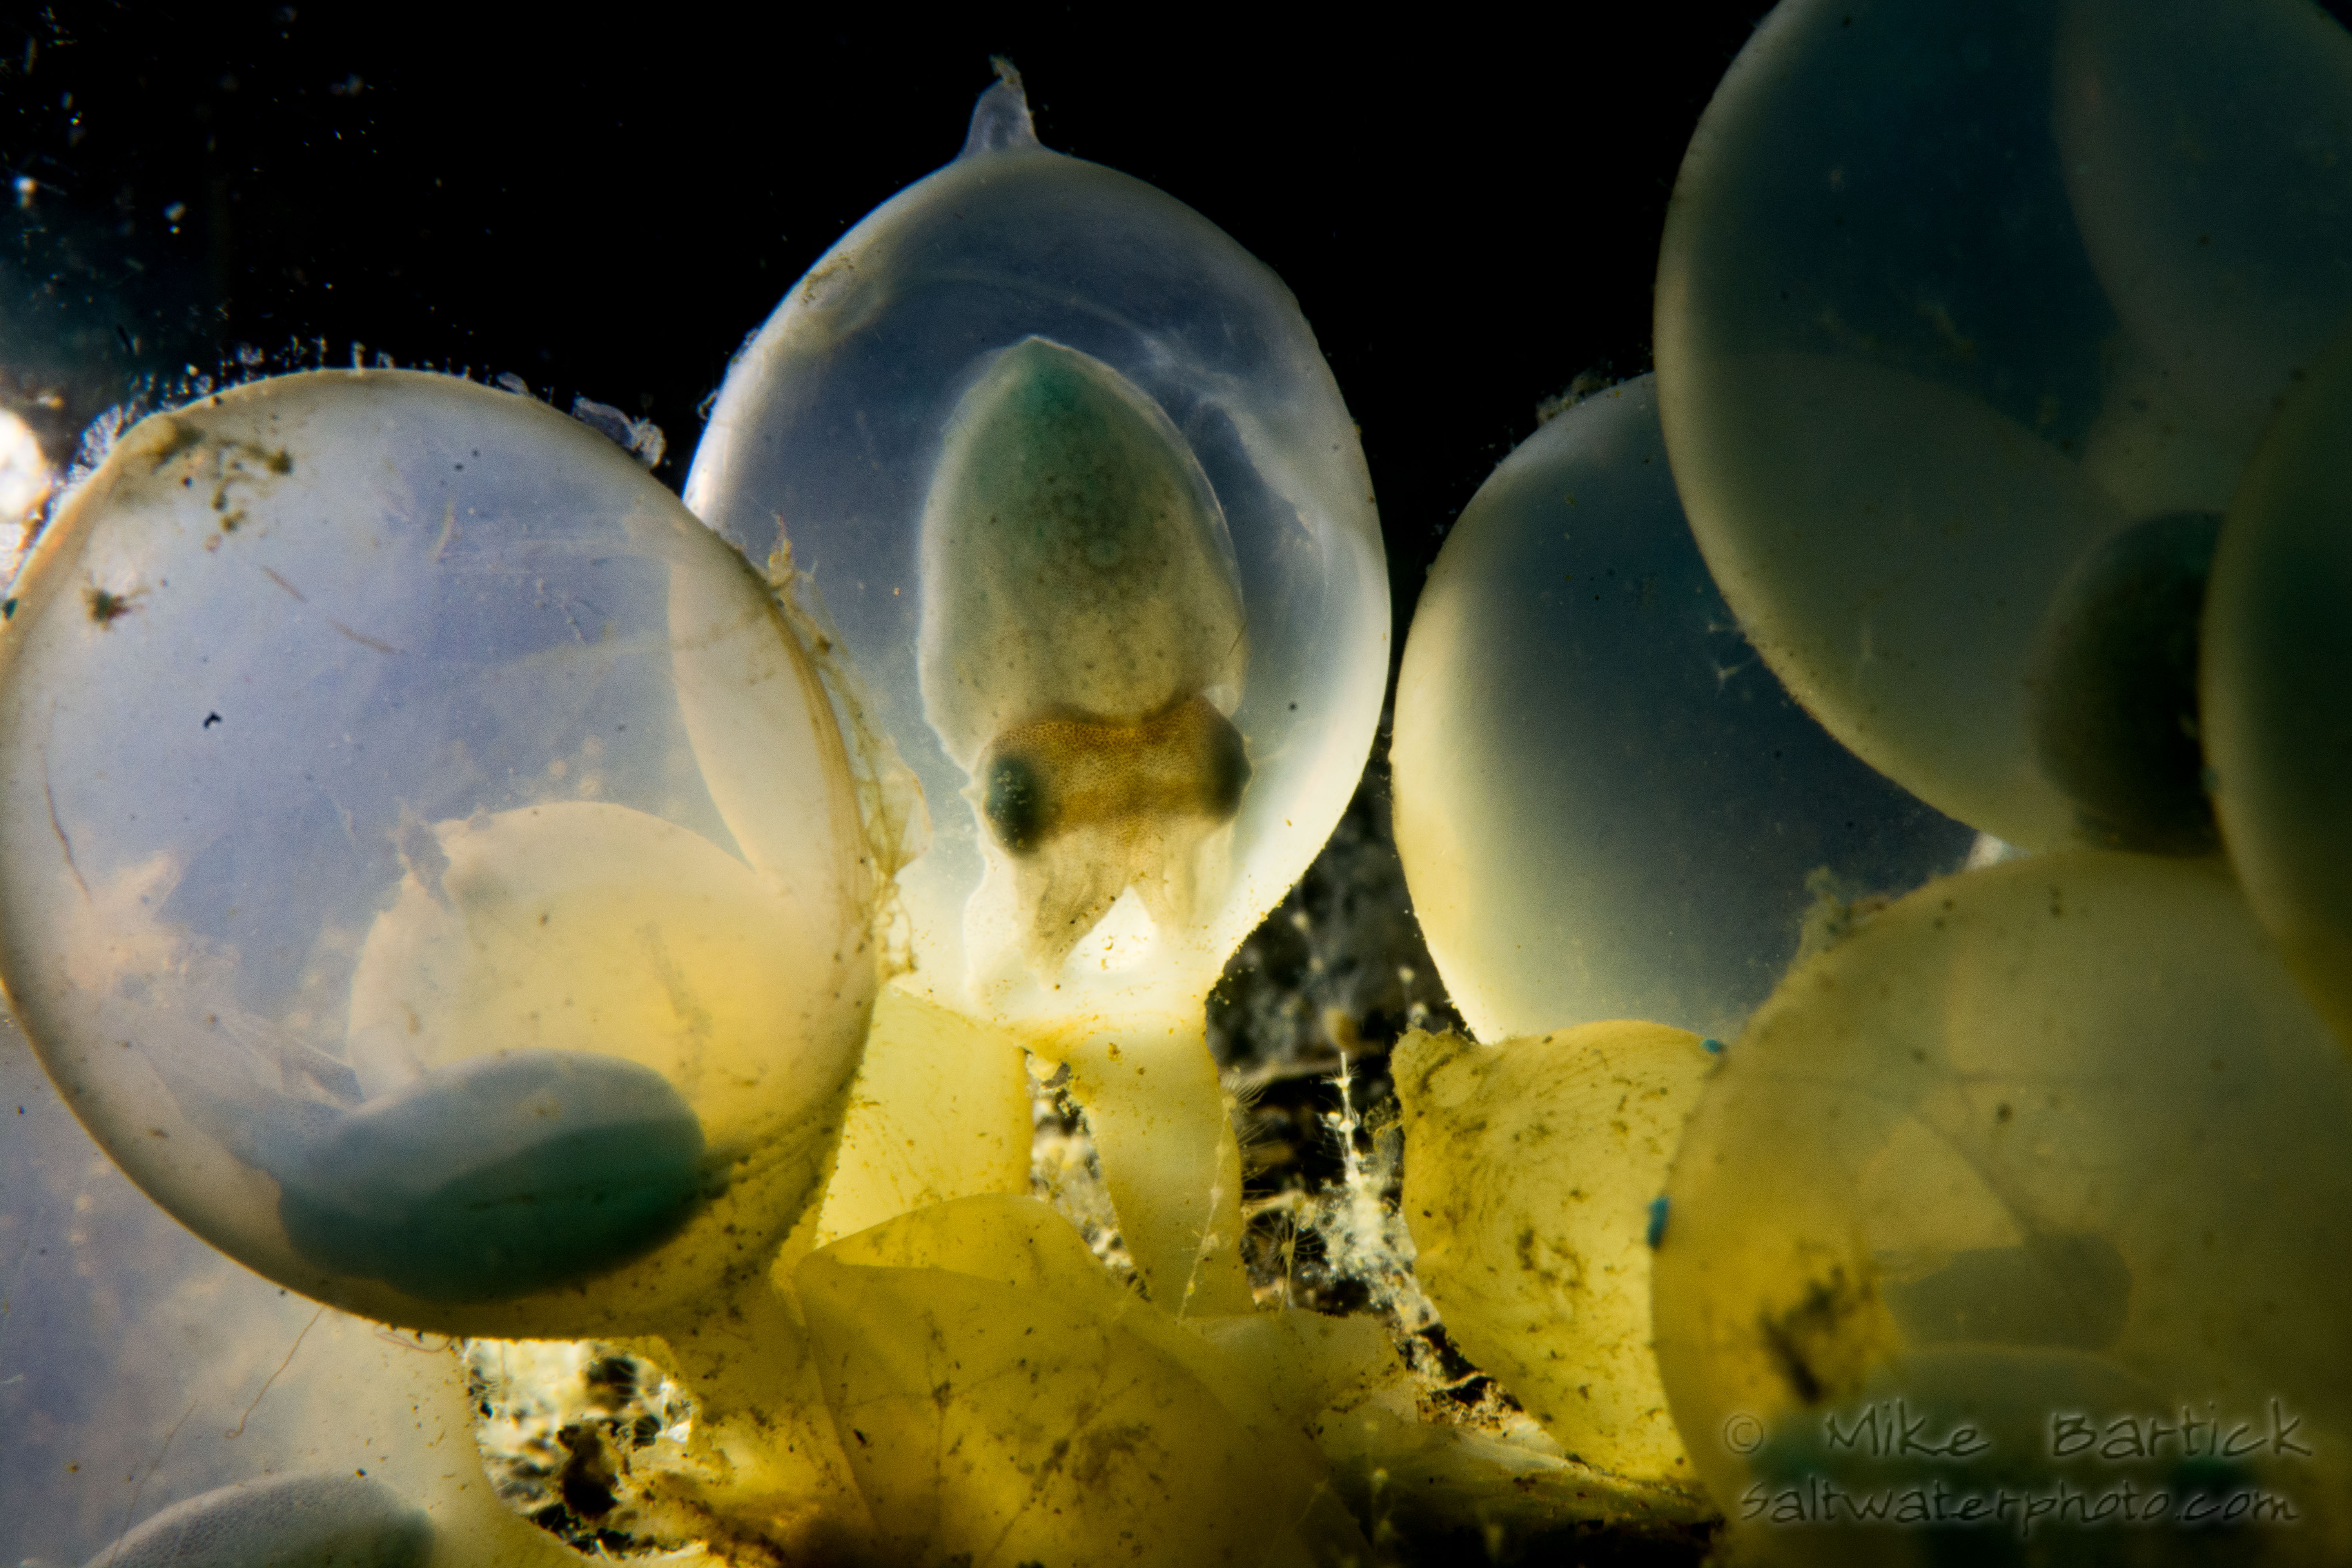
This is a technique where you “frame” your subject of interest inside of, or between, something else, in this case additional cuttlefish eggs. Again the rule of thirds is applied as my guideline.
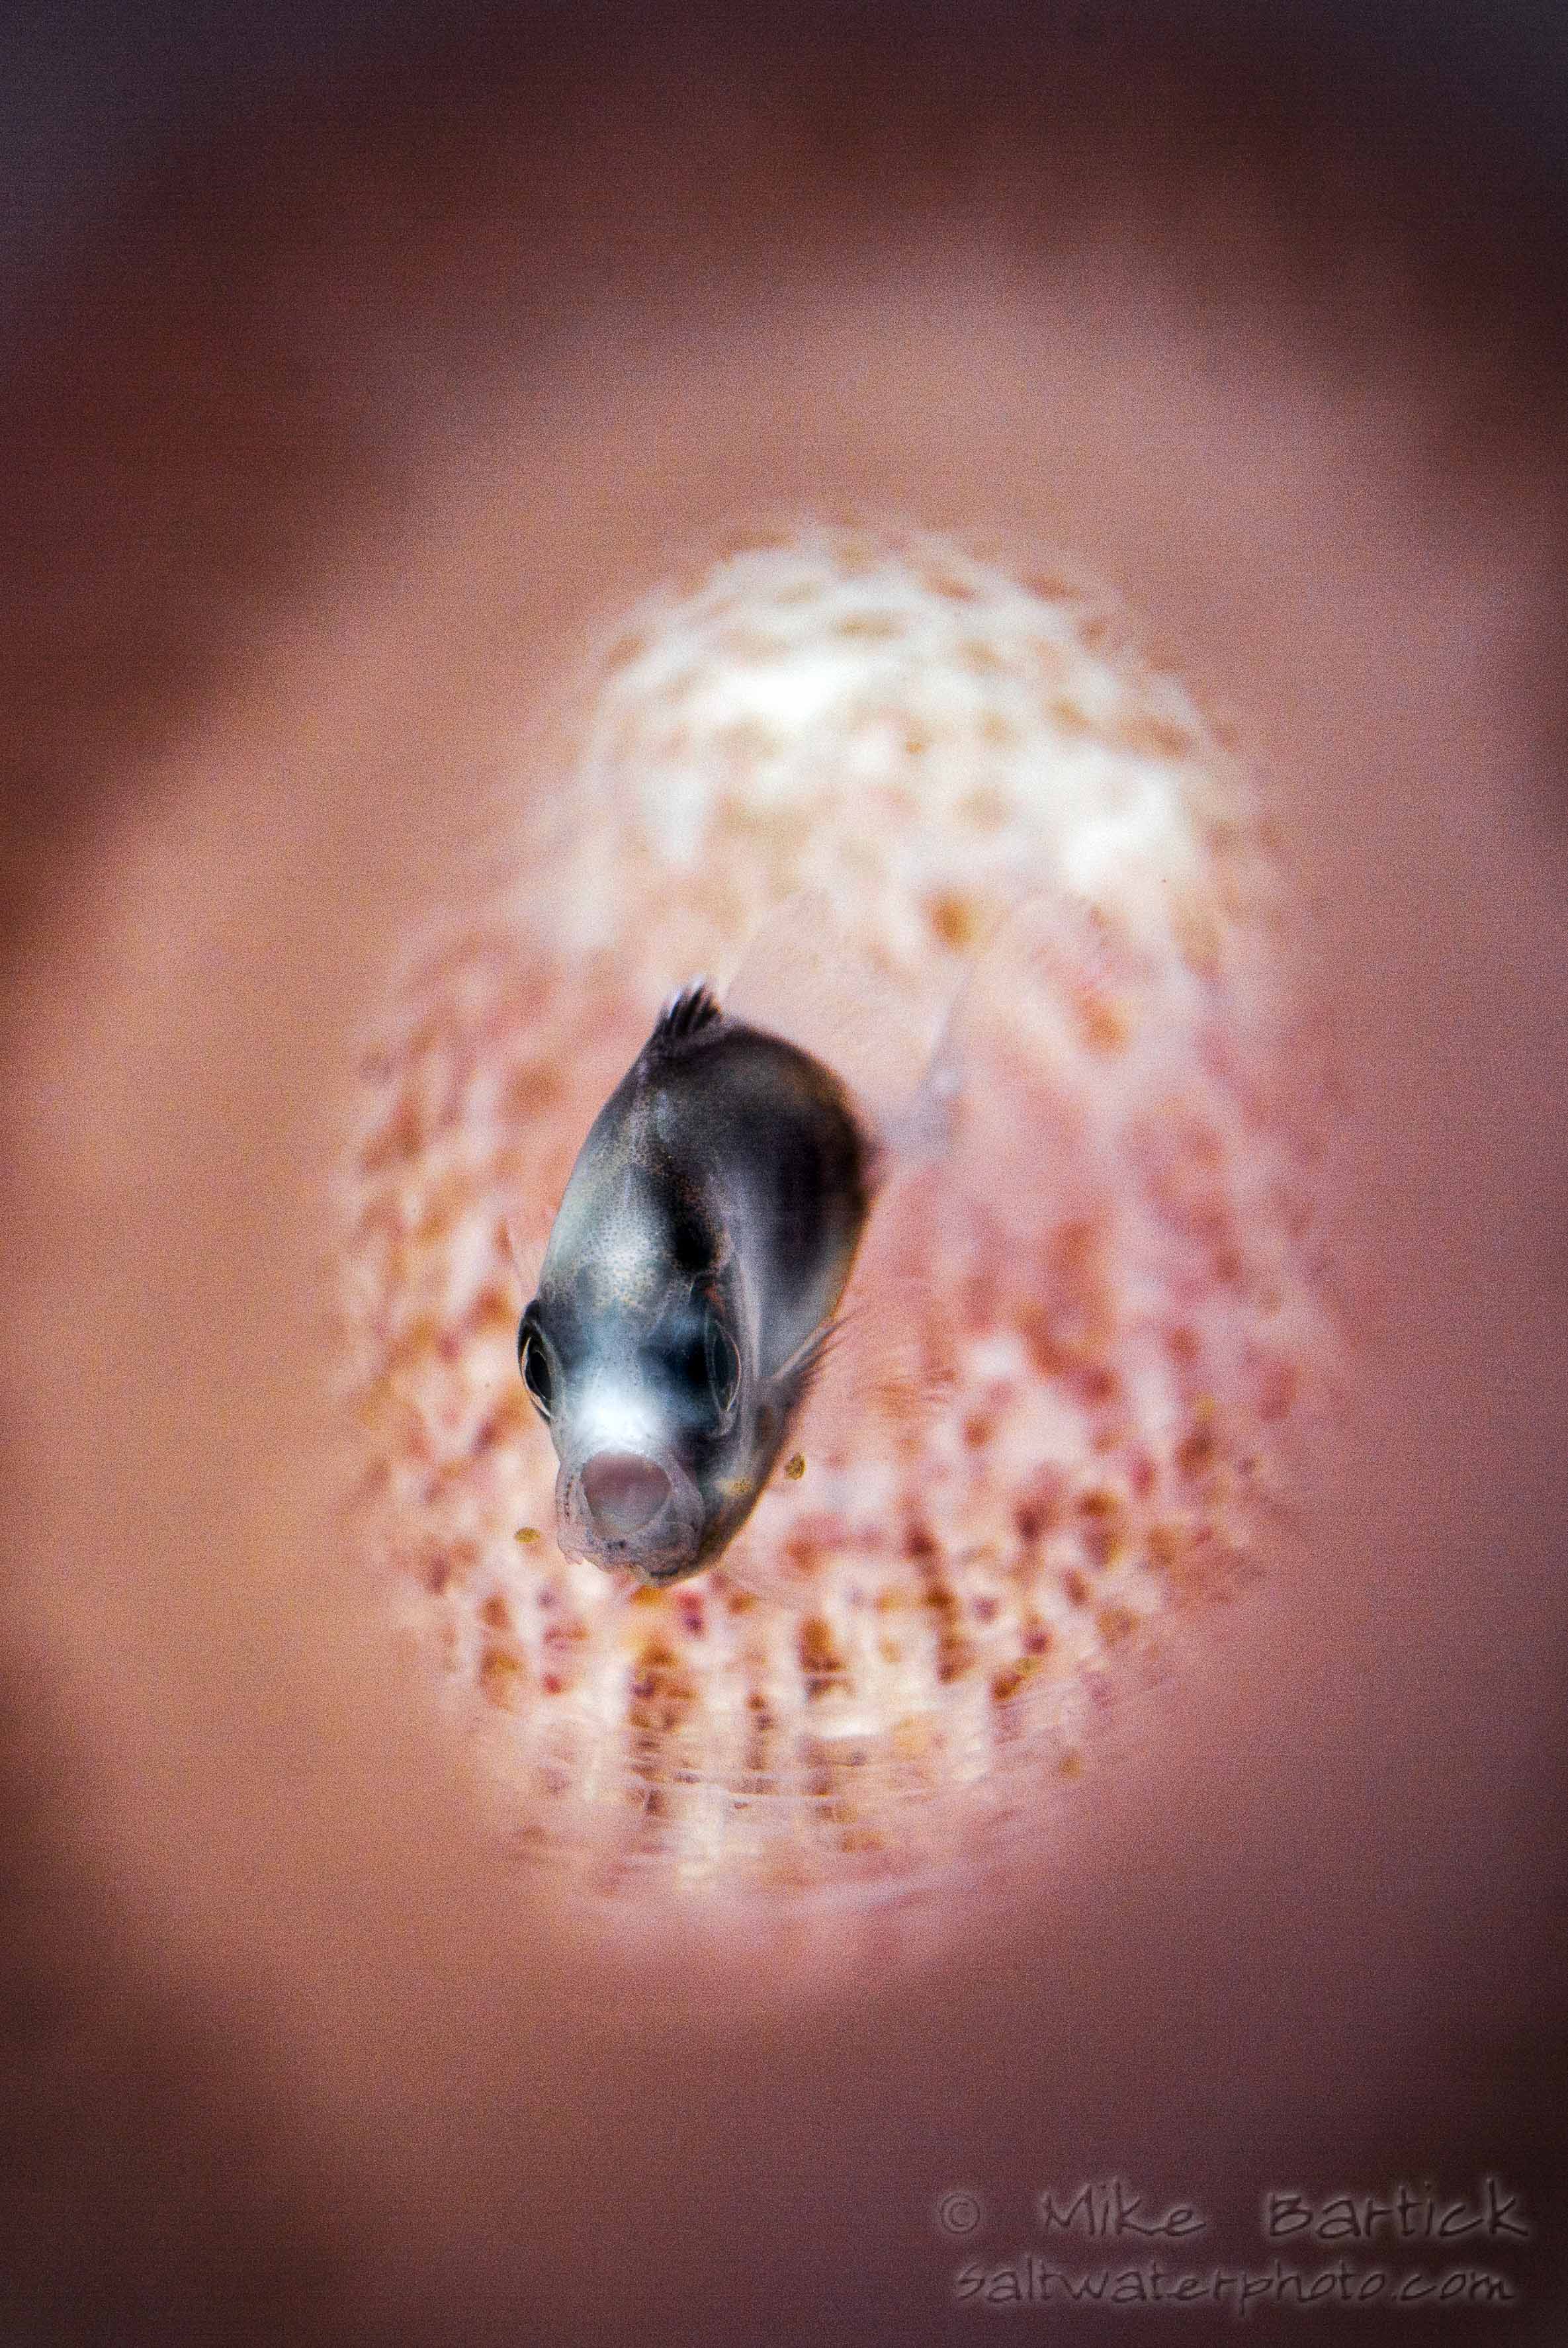
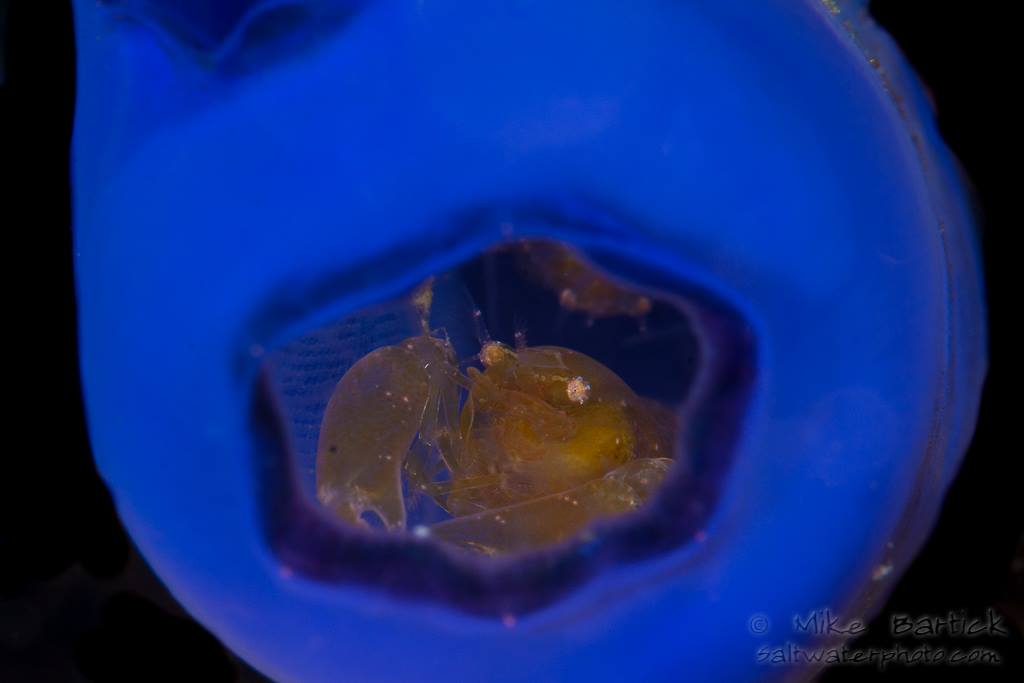
Another example of framing is something inside of another subject, like the juvenile trevally taking refuge inside of a pelagic colonial tunicate known as a Pyrosome. Or the snapping shrimp inside of a blue tunicate.
Negative Space
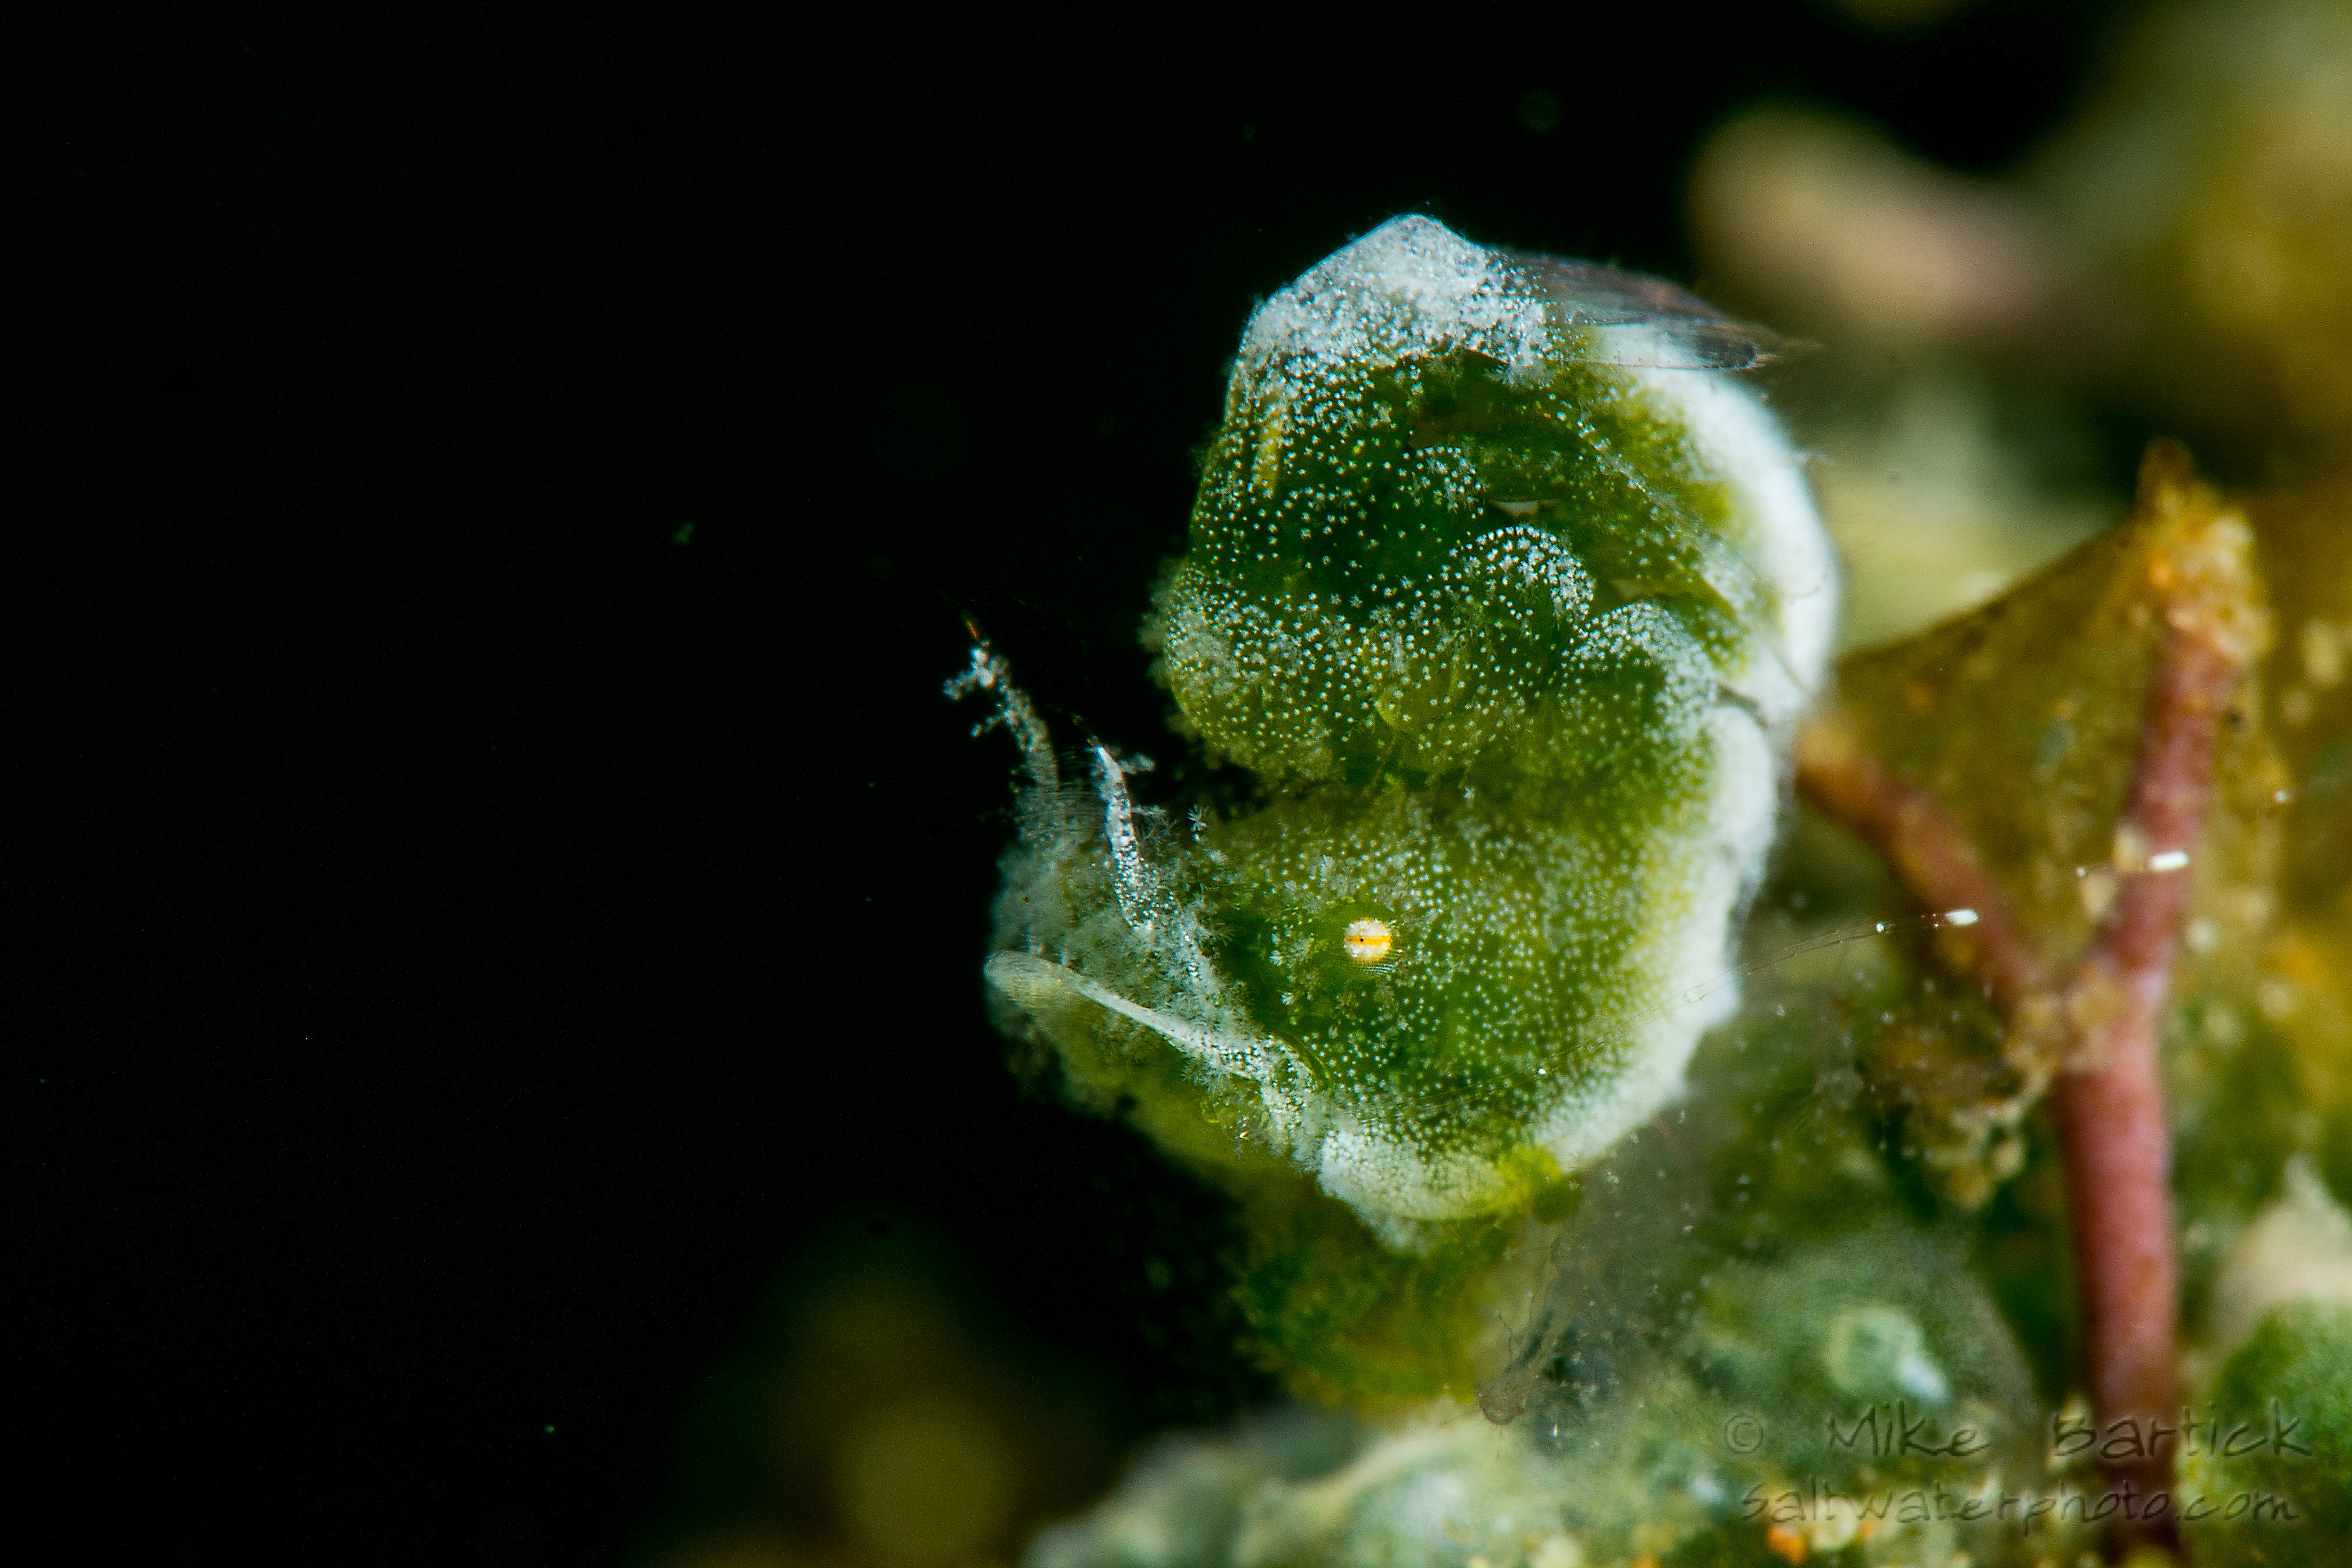
“Wasabi pea” hairy shrimp (Phycocarus sp.) make for great macro subjects and due to their size, perfect for the next example. Remember that sometimes it’s not what’s in the frame, but what’s left out of it. Often changing your approach to be sure that nothing is behind your subject when shooting the photo can eliminate much of the confusing background (image right). This is where a snoot is also highly effective. Negative space doesn’t always need to be black either. By using a slower shutter speed you can have a blue background or by using a lower F-stop, you could create lovely creative bokeh, so keep an open mind and an eye on design within the frame.
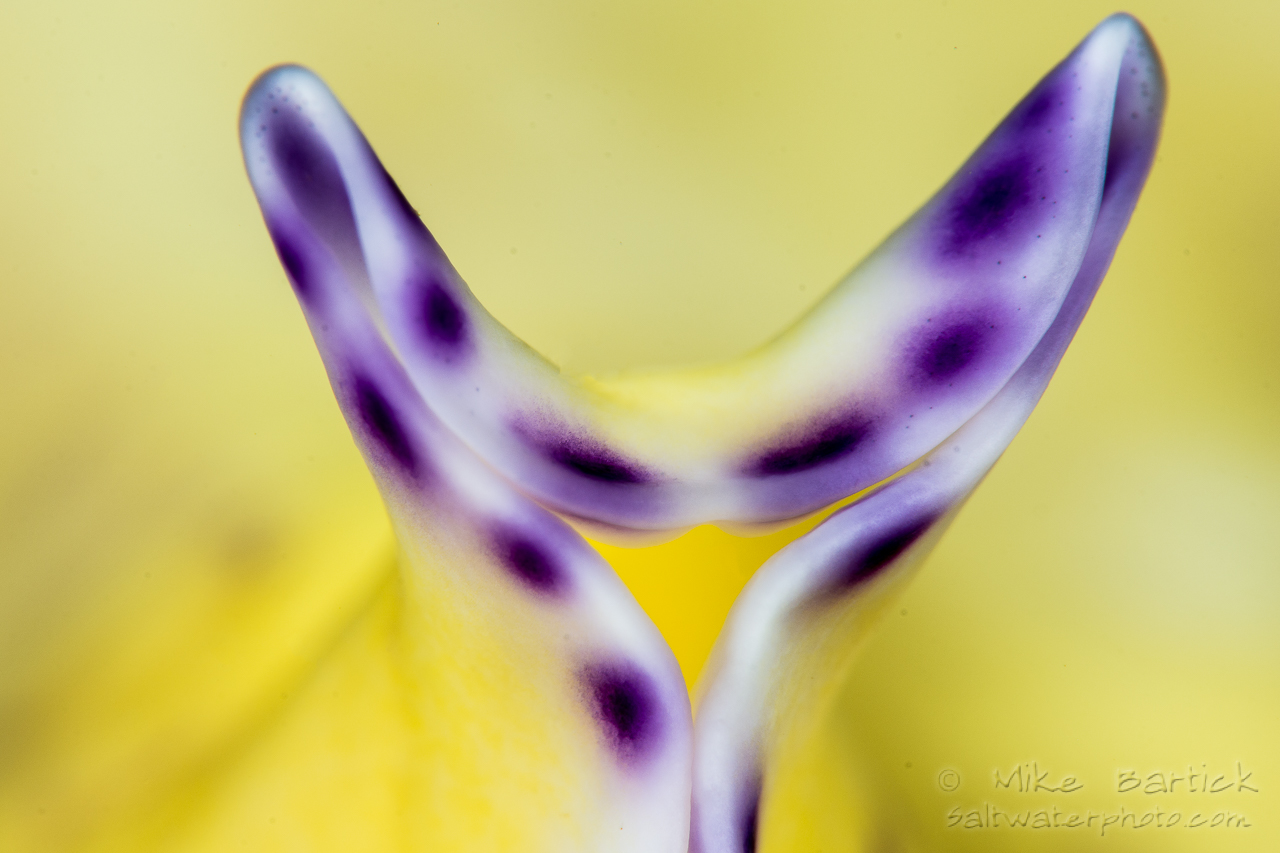
Filling the frame
This is another signature technique that creates big robust images and can be done with a variety of lenses and subject matter from abstracts to medium-sized nudibranchs. I like bright, bold colours in my macro so this technique fills that role for both. Again using Photoshop or Lightroo
m you can learn how to adjust the image prior to shooting it.
Using these simple examples above, you should be able to gain a better grasp on the subject of composition and soon you will have crossed the bridge to stronger captures.
Most importantly, be kind to the environment and always have fun! Next up is shooting behaviour, so stay tuned for some crazy action shots.
 In a tropical, oceanside setting, Crystal Blue Resort finally offers a finer quality of lodging perfectly placed to experience Anilao’s excellent scuba diving and underwater photography opportunities. Crystal Blue Resort is conveniently located in front of Arthur’s Rock Marine Sanctuary where scuba diving enthusiasts can have their once-in-a-lifetime underwater adventure.


